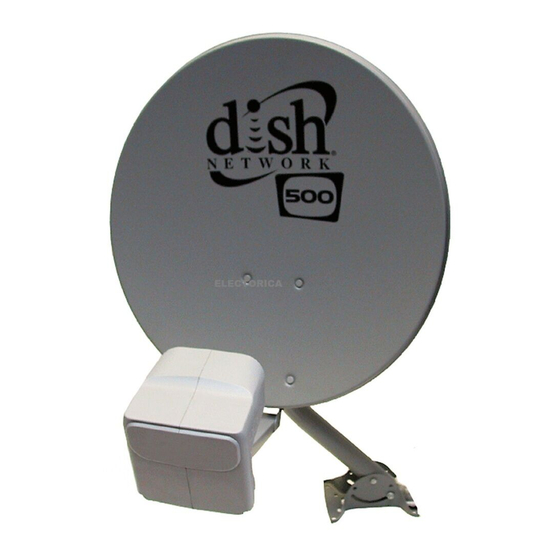
Dish Network DISH 1000 Installationsanleitung Handbuch - Seite 4
Blättern Sie online oder laden Sie pdf Installationsanleitung Handbuch für Antenna Dish Network DISH 1000 herunter. Dish Network DISH 1000 16 Seiten.
Auch für Dish Network DISH 1000: Handbuch (18 seiten), Handbuch (20 seiten)

Quick Installation Instructions
1.
Find Azimuth/Elevation/Skew angles for your location (instructions on page 3 and tables on page 8).
2.
Find a location for the dish antenna with a clear line of sight and a sturdy mounting surface (page 3, step 1).
3.
Mount the mast, making sure it is absolutely vertical (page 3, steps 2 and 3).
4.
Assemble the dish antenna, setting the skew and elevation angles in the process (page 3, steps 4-6).
5.
Mount the dish antenna on the mast and point the dish to the azimuth angle (page 3, step 7).
6.
Run cables between the dish antenna and the receiver(s) (page 4, step 1).
7.
Connect the 5-1/2 foot long cable to the DISH Pro LNBF and attach the LNBF to the W-Bracket 129°W slot
(page 4, step 2).
8.
Using a peaking meter attached to the DISH Pro Plus Twin LNBF Port 1, peak the dish on 119°W for
maximum strength. Tighten all bolts (see Table 1) and re-confirm maximum signal (page 4, steps 3-6).
9.
Connect the receiver cable(s) to the DISH Pro Plus Twin LNBF Port 1 (and Port 2, as necessary) (page 5, step 9).
10. Connect the 5-1/2 foot long cable to the
Bracket (page 5, step 7).
11. Confirm receiver software. Take a receiver download if necessary (page 5, step 8)
12. Run
Check Switch
13. Take a software download, if you didn't already (page 6, step 12).
14. Run a
Check Switch
15. Install an additional receiver, if necessary (page 6, step 14).
Page 2
Figure 1. DISH 1000 Antenna Installation Overview
LNB I
test and confirm 110°W and 119°W reception (page 6, steps 10 and 11).
test and confirm 110ºW, 119ºW, and 129ºW reception (page 6, step 13).
port of the DISH Pro Plus Twin and attach the LNBF to the W-
N
