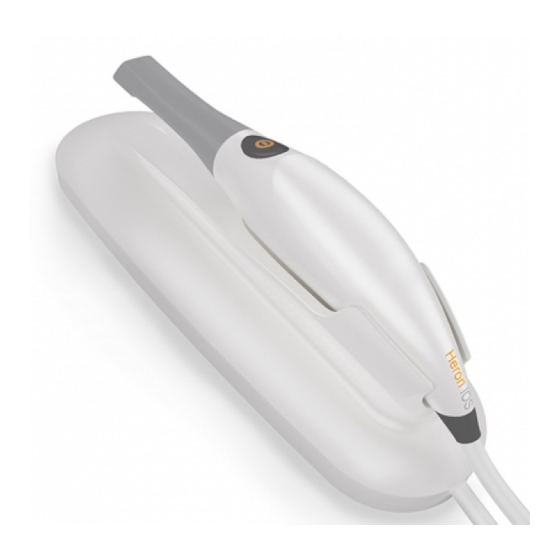
3Disc Heron IOS Schnellstart-Handbuch - Seite 7
Blättern Sie online oder laden Sie pdf Schnellstart-Handbuch für Zahnärztliche Ausrüstung 3Disc Heron IOS herunter. 3Disc Heron IOS 12 Seiten.

Scanning Step 3: Basic Scanning Procedure
1. Place the open end of the tip of the heron over the area of interest, and keep it
stationary.
2. Click the scan button (A)
once in QuantorClinic, or
press the main button
on the handpiece.
3. Keep the handpiece
stationary over the
object of interest until
you hear a clicking sound
(if there is no clicking,
please adjust the sound
settings on your computer). You should see a 3D surface in the model view
window, with a green rectangle which indicates the last scanned position (B).
4. Continue scanning by moving the scanner slowly over and around the area
of interest. The Heron IOS can scan at a range of 0 to 12mm, however, better
scans are obtained at a closer range, and it is okay if the tip touches the
teeth. During scanning, you should continue to hear a rapid clicking sound and
observe a green rectangle indicating the last scanned area.
5. If the clicking sound
stops and a red rectangle
is visible on the model,
this indicates that data
from the handpiece is no
longer being integrated
into the model. In order
to continue scanning,
place the handpiece
over any area that
you have previously
scanned. When new data is being added to the model, the red rectangle
will change to green, the clicking sound will resume, and you can continue
scanning.
6. The scan can be paused by pressing the scan button on the handpiece, or
the scan button (A) in QuantorClinic. It is recommended to inspect the 3D
model, as it may be necessary to re-scan certain areas in order to fill in gaps, or
improve the scan quality.
6
A
B
