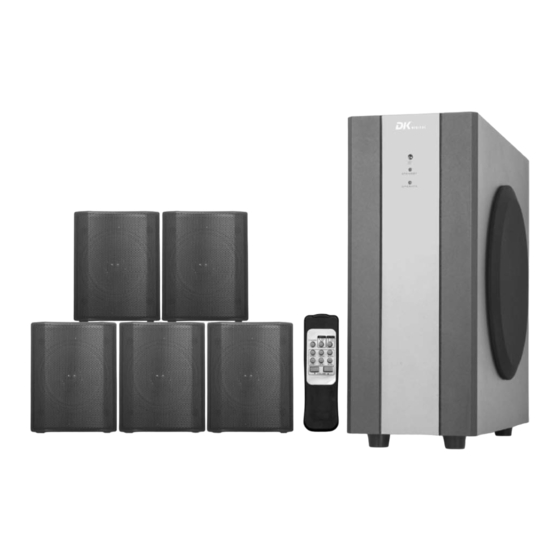
DK Digital AS-20-1 Benutzerhandbuch - Seite 10
Blättern Sie online oder laden Sie pdf Benutzerhandbuch für Home Theater System DK Digital AS-20-1 herunter. DK Digital AS-20-1 13 Seiten. Home theater surround system

- 1. Important Safety Instructions, Please Read Carefully
- 2. Scope of Delivery
- 3. Setting up the System
- 4. Operating Elements on the Subwoofer
- 5. Aux Input
- 6. Speaker Outputs
- 7. Power On/Off
- 8. Connecting the Speakers
- 9. Connecting Audio Sources
- 10. The Remote Control
- 11. Disposal Advice
- 12. Technical Specification
Operating the Home Cinema Set
1. Set the mains switch (POWER) on the backside of the subwoofer to the ON position (I).
The system is now in standby mode and the red pilot lamp (STANDBY) on the front side
lights up.
2. Push the STANDBY button on the remote control in order to switch on the system. The
green pilot lamp (OPERATION) will light up.
3. Push the INPUT button in order to activate the desired input, AUX or 5.1 channel.
4. You can choose between the operation mode 2.1 (stereo with subwoofer) or 5.1 (all
speakers) using the button OUTPUT.
5. You can set the overall volume with the help of the VOLUME 56 buttons on the remote
control. Push the 5 button to increase the volume and the 6 button to reduce the
volume. While you are changing the volume, the green pilot lamp is quickly blinking.
6. For adjusting the volume of the individual speakers to each other during operation, carry
out the following steps:
—
Set the overall volume to an appropriate level.
—
Push the CEN + or – button in order to change the volume of the centre speaker.
Push the SUR + or – button in order to change the volume of the surround speakers.
Push the SUB + or – button in order to change the volume of the subwoofer.
7. Push the STANDBY button on the remote control in order to switch the system into
standby mode. The red pilot lamp will light up. To save some energy we recommend to
switch off the POWER switch on the rear panel as well when the unit is not in use.
Disposal advice
When the operating life of this device has ended it must not be disposed as
domestic waste, but in accordance with national environmental guidelines.
10
