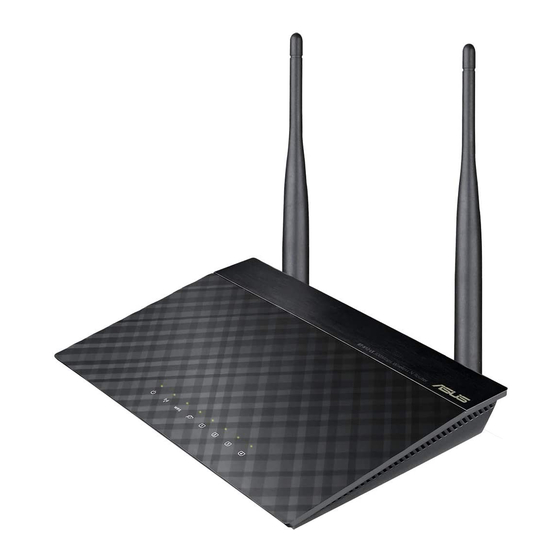
Asus RT-N12B1 Manual - Página 2
Navegue en línea o descargue pdf Manual para Router inalámbrico Asus RT-N12B1. Asus RT-N12B1 5 páginas.

A1, B1, C1 Installation
Minimum supported builds are in Supported_Devices. After the initial installation, newer DD-WRT builds
can be used, see Where do I download firmware? for more info. Note that version 36330 mini has been tested
on the A1 hardware version see [1]
RT-N12 [A1] Firmware
dd-wrt.v24-14929_NEWD-2_K2.6_mini_RT-N12.trx
•
Reference Thread
RT-N12B1 Firmware
dd-wrt.v24-17990_NEWD-2_K2.6_mini_RT-N12B1.trx
•
Reference Thread
RT-N12C1 Firmware
dd-wrt.v24-18774_NEWD-2_K2.6_mini_RT-N12C1.trx
Installation Procedure
WARNING: This is only for the original RT-N12 [A1], B1, and C1 revisions. Read the Peacock
announcement.
•
If you have issues, try a different browser, restart it, or clear your cache
1.
Download the appropriate firmware for your hardware revision
2.
Connect only the PC with an ethernet cable to a router LAN port.
♦
Disable all other network and wireless adapters, and disconnect other cables
3.
Set the PC to a static IP in the same subnet as the router, e.g. 192.168.1.10, subnet mask
255.255.255.0
4.
Unplug the power connector from the back of the router.
5.
Put the router into Recovery Mode.
6.
Use the Asus Firmware Restoration Utility (or any TFTP client) to upload the DD-WRT mini-asus.trx
file
•
DO NOT DISTURB THE ROUTER or PC FOR THE NEXT FIVE MINUTES. BE PATIENT!
1.
After the upgrade, the Utility should ask for a router reboot. WAIT another minute then unplug the
power.
2.
Plug back in after 10sec, then after boot, access DD-WRT at 192.168.1.1, set a password and
configure
3.
Set the network adapter properties for TCP/IP back automatic DHCP (IP/DNS)
A1, B1, C1 Installation
Asus_RT-N12
2
