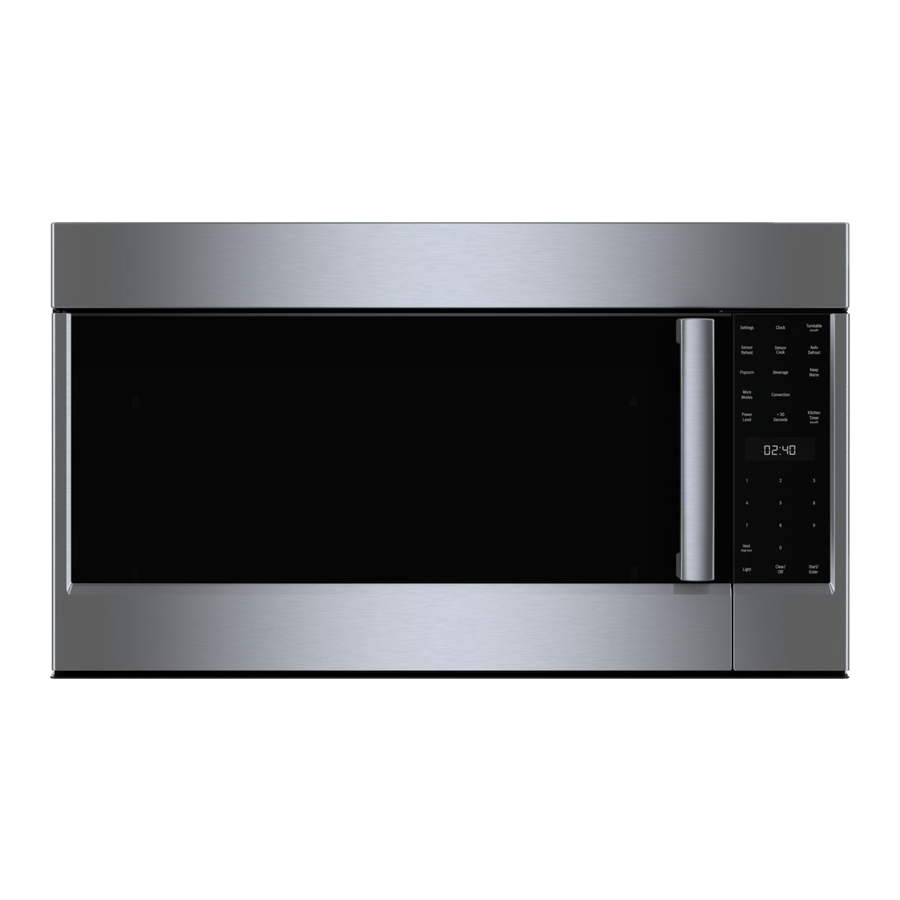
Bosch 800 Series Manual de instalación - Página 20
Navegue en línea o descargue pdf Manual de instalación para Lavavajillas Bosch 800 Series. Bosch 800 Series 48 páginas. Built-in wall ovens
También para Bosch 800 Series: Manual de instrucciones de instalación (24 páginas), Manual de instalación (40 páginas), Manual de uso y mantenimiento (12 páginas), Manual de instalación (23 páginas), Manual de instalación (28 páginas), Manual de instalación (32 páginas), Manual de instrucciones (32 páginas), Manual de instalación (32 páginas), Manual de inicio rápido y seguridad (7 páginas), Manual de uso y mantenimiento (40 páginas), Manual de instalación (40 páginas), Manual de instalación (32 páginas), Manual de instrucciones de instalación (40 páginas), Manual de uso y mantenimiento (33 páginas), Manual de uso y mantenimiento (49 páginas), Manual de inicio rápido (7 páginas), Manual de inicio rápido y seguridad (13 páginas), Manual de instalación (32 páginas), Manual de servicio (36 páginas), Manual de instrucciones de instalación (29 páginas), Manual de uso y mantenimiento (24 páginas), Manual de uso y mantenimiento (40 páginas), Manual de instrucciones de instalación (28 páginas)

