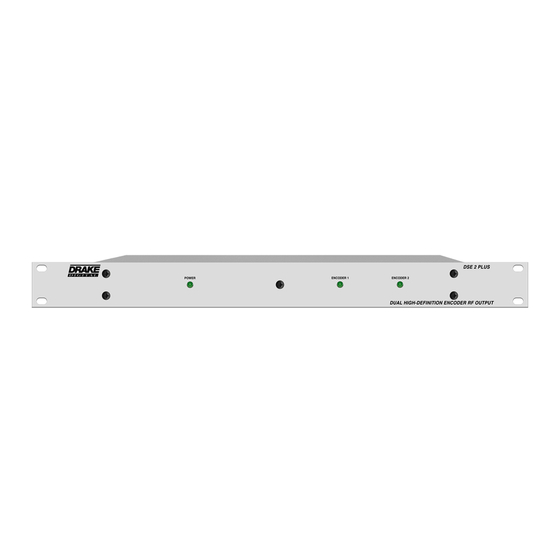
DRAKE DSE 2 PLUS Manual de instrucciones - Página 8
Navegue en línea o descargue pdf Manual de instrucciones para Media Converter DRAKE DSE 2 PLUS. DRAKE DSE 2 PLUS 20 páginas. Dual hd digital signage encoder
También para DRAKE DSE 2 PLUS: Manual de instrucciones (20 páginas)

Rear Panel Connections (continued)
R12 – Audio Input 1 - These two color coded
RCA type connectors provide baseband audio
Left (white) and Right (red) inputs to the DSE2
Plus.
R13 – Closed Caption Input 1 - This connector
provides the means to input closed captioning.
It requires analog composite video that contains
closed captioning.
R14 – VGA Loop Output 1 - This connector
provides VGA video output to a monitor or
other equipment requiring VGA input. It is only
active when VGA is input on R10.
Ethernet Access:
Local or remote communication with the unit is
only possible through a GUI-based menu via any
standard web browser. Before you can
communicate with the unit you must configure
your computers Local Area Network connection
to confirm with the DSE 2 Plus default IP of
172.16.80.1. To do so, follow these steps:
Connect an Ethernet cable from your computer
to the Ethernet connection on the rear panel of
the DSE 2 Plus.
1) The following steps explain how to do this for
a computer with windows XP operating
software:
(a) On your computer, open the "Control Panel"
(b) Double-click on "Network Connections"
(c) Right-click on the "Local Area Connection",
and then click on the "properties".
R15 – Status LED – Ethernet Link indicator.
R16 – IP Reset - When pushed and held for
about 10 seconds, resets the IP address,
Usernames, and Passwords to Factory default
values.
R17 – Ethernet Connection - T his connector
provides the means to connect the DSE2 Plus to
an Ethernet local area network or computer for
remote control, monitoring, and/or firmware
update. It is not recommended that this port be
connected directly to a wide-area network
without external access controls, like a VPN or
firewall.
(d) A dialog box entitled "Local Area Connection
Properties" will appear. In this box, double-click
on the "Internet Protocol (TCP/IP)".
(e) A dialog box entitled "Internet Protocol
(TCP/IP) Properties" will appear. Select the "Use
the following IP address" option and enter the
following addresses:
IP address: 172.16.80.2
Subnet mask: 255.255.255.0
No need to enter a value for the Default
Gateway.
Click OK to close the dialog box. Now your
computer is ready to communicate with the
unit.
DSE 2 PLUS | 8
Instruction Manual
