ATIK Cameras One Montaje - Página 2
Navegue en línea o descargue pdf Montaje para Cámara digital ATIK Cameras One. ATIK Cameras One 4 páginas. W/ guider kit
También para ATIK Cameras One: Manual del usuario (15 páginas)
Using the guider module
The guider module is very easy to use and adjust. Looking at all components individually:
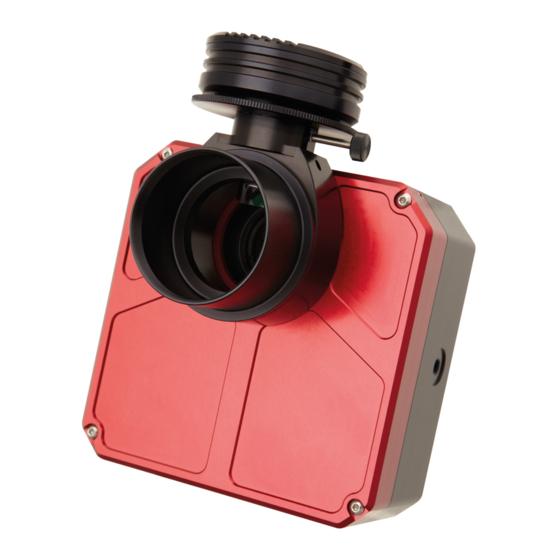
5
6
The main body (6) is where all the action happens. The pickup prism diverts some of the light through 90º, to the guide camera. You
can attach the guider module to the telescope using the 2" adapter (5), or by using any T-thread accessory directly to the main body.
To adjust the pickup prism, you need to slightly undo the locking screw (the access hole is just below the locking screw), making sure
that you don't loosen it too much. There's a captive recess that will prevent the prism support from falling, but this will not work if the
screw is undone too much, causing the support to fall out of place.
Use your finger to move the prism support to the desired position, and then tighten the locking screw. Again, the correct position will
depend on telescope used. As an example, if a SCT is used you'll probably want to lower the prism as much as possible, to get better
star shapes, without having a shadow on the main camera CCD.
Focusing your OAG
One of the great features of the guider module is the extremely smooth focus mechanism:
Simply adjust the focusing ring counter-clockwise, and the camera support will smoothly and precisely go up: turn clockwise, and
it will go down. It's as easy as that! When focused, just tighten the locking screw slightly (don't over tighten!), so that the assembly
keeps rock solid! There's a total travel of about 5mm which, will be enough to make it easy to focus the guide camera.
Page 2