ATIK Cameras One Montaje - Página 4
Navegue en línea o descargue pdf Montaje para Cámara digital ATIK Cameras One. ATIK Cameras One 4 páginas. W/ guider kit
También para ATIK Cameras One: Manual del usuario (15 páginas)

The first image
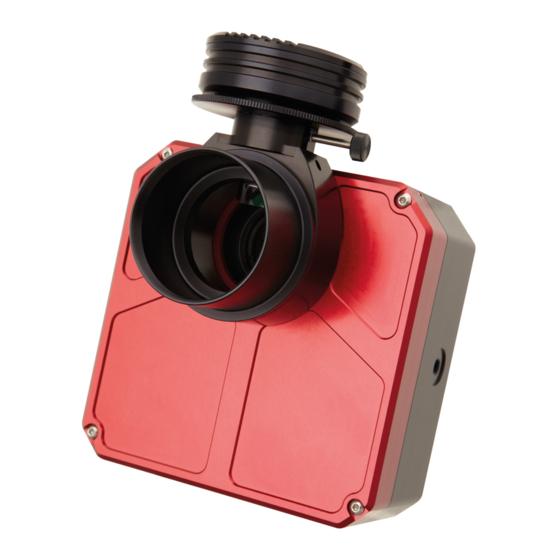
To begin, centre your telescope visually on a moderately bright star. Put the camera on the telescope's focuser and press the F1
key. This will immediately initiate an exposure of 0.1s. When the exposure is complete, you should see a strongly defocused star
on your computer screen. Congratulations! Everything is working as expected. If the star is grossly saturated (a completely white
circle), then you should manually select a shorter exposure in the Exposure window.
Focusing
Depending on how out-of-focus the star is, click on the Sub-frame button and
select an area around the star. This will limit the size of the image which needs
to be downloaded to the computer, making the display update more rapidly.
Click on the Loop button. This will start an exposure that will repeat until the
Loop button is pressed again. Adjust your telescope focus until the star image
is sharp, rather than a large circle. Artemis Capture offers a simple tool to help
you find the best focus. To activate it, simply double-click on a star, and the
Star Tracking window will pop up, showing the brightness level and FWHM of
the star. Best focus is the point at which the FWHM is smallest and the bright-
ness level is highest. Keep in mind that this feature works best when the star
is not saturated, so if the star has a brightness level approaching 65000, you
should either shorten your exposures or select a fainter star.
Autoguider
Now is time to open another instance of Artemis Capture. Once you do it, it will immediately connect itself to the Atik GP without any
prompts, since the Atik One is already taken by the other instance. You should now repeat the same steps as before to focus the Atik
GP. If finding a star is difficult, try increasing the exposure or move the telescope around a bit.
After focusing your guide camera, you are ready to start imaging. Please refer to the Quickstart guide manual that was shipped with
the camera (booklet) and/or the Artemis Capture manual (PDF) for full instructions on how to operate the software.
MaximDL™ plug-in specifics
The driver files for the Atik cameras is installed during the initial camera setup (if you selected to install it). If you don't have the plug
in installed yet, just re-run the setup application and select it when prompted. Be aware that you will need to have Maxim DL installed
first. It is also important to have the ASCOM Platform (www.ascom-standards.org) already installed, as it will be needed to control
the internal filter wheel.
So, please make sure you select the "ASCOM Driver for Internal filter wheel" and "MaximDL plug-in" when you run the setup.
After opening MaximDL, open the camera control window. For camera 1 and 2, select the "ArtemisHSC" driver. For the filter wheel,
select ASCOM and on the advanced settings, select "Atik Internal Filter Wheel".
Once you press "Connect", a prompt will ask for you to select which will be camera 1. Usually this will be the Atik One, so just press
"ok". Filter wheel will initialize and position itself on position 1. Everything will now be ready to go.
Again, thank you for choosing an Atik product. Happy imaging!
Page 4
