dtm Azymut Manual de instalación y funcionamiento - Página 4
Navegue en línea o descargue pdf Manual de instalación y funcionamiento para Accesorios dtm Azymut. dtm Azymut 8 páginas. Wireless gate state sensor
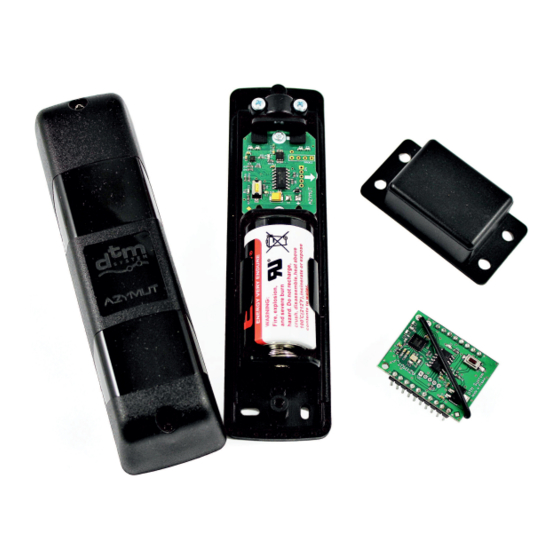
MONTAGE
The AZYMUT sensor is designed to work with the FLEX receiver. It can be mounted on gates of any
type.
The distance between the AZ-MG magnet and the AZ-TX transmitter with the gate
closed should be in the range of 1-30 cm
Pay attention to the arrows on theAZ-TX transmitter board!
The AZ-TX transmitter must be mounted perpendicular with the arrows pointing to
the front wall of the AZ-MG magnet when the gate is closed. If necessary, reverse the
fixing of the plate in the transmitter housing (Fig.2).
Fig.2 Mounting the AZ-TX transmitter relative to
AZ-MG magnet.
Installation of theAzymut sensor in various types of gates:
Garage door
1. Mount the AZ-FLEXRX receiving module in the FLEX receiver (Fig. 3). Set the input in the signaling
mode in the FLEX receiver menu - 'Sr.St = on' option (see the FLEX receiver manual).
2. Mount theAZ-MG magnet on the gate and theAZ-TX transmitter on the wall (or vice versa) in such
a way that the magnet and the transmitter are on one level when the gate is closed (Fig. 4).
Fig.3 Installation of the AZ-FLEXRX receiving
module in the FLEX receiver.
Fig.4 Mounting the sensor on the garage door.
2x10-pin module
socket in the FLEX
receiver