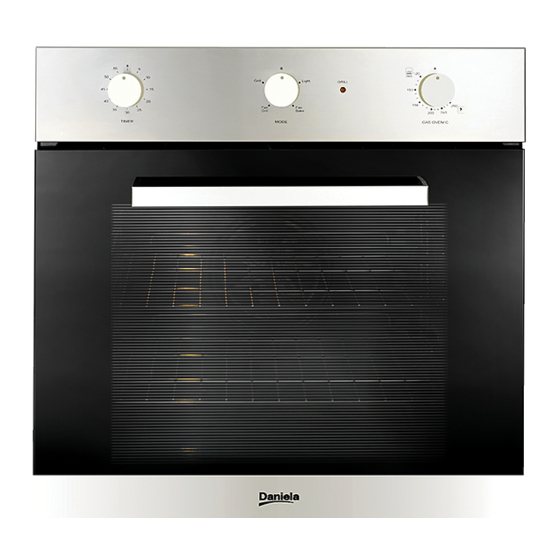
Daniela DAN6FGS Manual de instalación y funcionamiento - Página 15
Navegue en línea o descargue pdf Manual de instalación y funcionamiento para Horno Daniela DAN6FGS. Daniela DAN6FGS 20 páginas.

ADJUSTMENTS
• Before any adjustment is attempted, which
may be necessary when installing for the first
time or when converting gas type, take the
plug out of the mains socket.
• When the adjustment or preadjustment has
been made, a technician must do any re-
sealing.
• Adjust "Minimum" only when the burners
are working on natural gas while in the case
of burners working butane and propane gas,
the screw must be screwed right down (by
screwing the by-pass clockwise).
OVEN THERMOSTAT (fig. 10)
To adjust Minimum proceed as follows:
• Light the oven burner by turning the knob round
to the Maximum position and then wait about 10
minutes.
• Turn the knob slowly round to the Minimum
position, take the knob off, unscrew the right-hand
screw securing the thermostat and, putting a small
screwdriver (C) in hole (F), turn the (V) screw
clockwise to lower the flame or counterclockwise
for a taller flame.
• The flames must be short for an effective Minimum,
they should be stable to avoid going out accidentally
and to resist the normal opening and shutting of the
oven door.
�
INSTRUCTION FOR THE INSTALLER
�
�
10
OVEN BURNER (fig. 11)
The burner is at the bottom of the oven and covered
by the base tray that must stay in position all the time
the oven is being used.
CONVERSION
CHANGING THE INJECTORS
The burners can be adapted to different types of gas
by simply installing the injectors suitable for the gas
you want to use.
To change the injector of the (BF) oven burner you first
have to remove it, unscrewing screws (V) (fig. 11).
To help the installer there is a table on page 12 giving
burner power, nominal heat input, injector diameter
and working pressure of the different gas types.
After the injectors have been changed, the
technician must adjust the burners as described
in the previous paragraphs, seal any adjustment
or preadjustment parts and affix the label on the
appliance, in place of the old one, relative to
the new gas adjustment. This label is inside the
spare injector bag.
15
11
