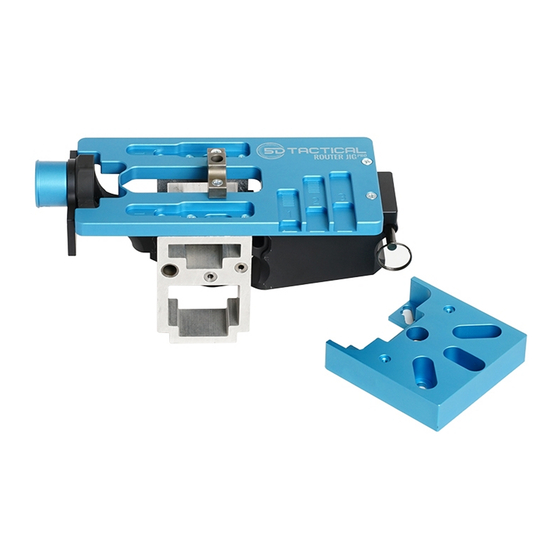
5D TACTICAL Router JigPro Manual de instrucciones - Página 5
Navegue en línea o descargue pdf Manual de instrucciones para Herramientas 5D TACTICAL Router JigPro. 5D TACTICAL Router JigPro 13 páginas.
También para 5D TACTICAL Router JigPro: Manual de instrucciones (7 páginas)

2-2
Uninstall the Drill Guide by
removing the (2) Jig Screws.
PART 3: MILLING STEP 1
GO TO APPENDIX A FOR ROUTER ADAPTER
INSTALLATION INSTRUCTIONS
GENERAL NOTES ON MILLING -
READ ENTIRELY:
• The provided depth gauge hash marks
denote the maximum depth of cut per
pass. BEGINNERS AND THOSE SEEKING
MAXIMUM FINISH QUALITY SHOULD
MAKE MILLING PASSES AT LESS THAN
A FULL HASH MARK. Attempting to mill
to at depth increments higher than
recommended can cause damage to the
end mill and/or receiver.
• Ensure that your router base lock is
tight and functioning properly. If the
router depth moves while milling,
the end mill and/or receiver can be
damaged.
• If using a variable speed router, set to
the highest speed setting. Do not insert
or remove the end mill while the router is
spinning.
• Prior to turning the router on, ENSURE
THE END MILL IS CENTERED WITHIN THE
MILLING PILOT HOLE AND NOT CONTACTING
ANY PART OF THE RECEIVER. Hold firmly
508-834-4223
5DTACTICAL.COM
and apply moderate downward pressure
when starting the router.
• While milling, move the router smoothly
and in a clockwise manner as shown in
the image. Keep the Router Adapter flat
against the Guide Plate at all times. Avoid
abruptly pulling the router or exerting
excessive force. Slowly nibble away at
the receiver. If you begin to experience
chattering, slow down and/or take
shallower depths of cut. Apply WD-40 or
cutting fluid liberally and remove chips
frequently.
3-1
Install #1 (Short) Guide Pins to
Router Adapter using (2) Guide Pin
Screws and 7/64" Allen Wrench. Open end of
pins should be facing up. Do not overtighten.
Make sure pins are fully seated.
5
