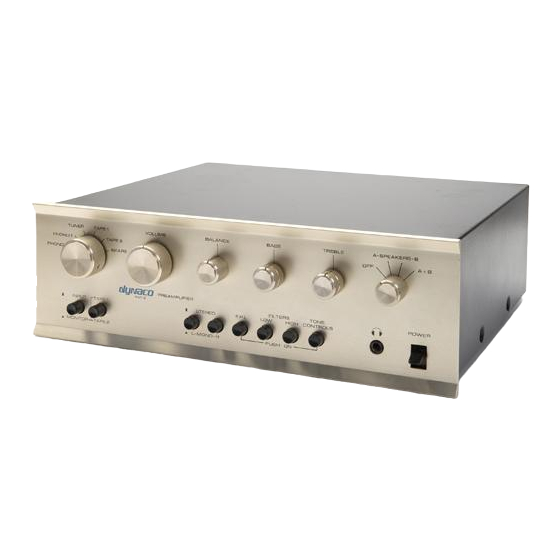
DYNACO PAT5PWR Manual de montaje - Página 2
Navegue en línea o descargue pdf Manual de montaje para Amplificador DYNACO PAT5PWR. DYNACO PAT5PWR 18 páginas. Replacement power supply rev e hardware

Table of Contents
Table of Contents ................................................................................................................ 2
Table of Figures .................................................................................................................. 2
Section 1: About This Manual ............................................................................................ 3
Who Should Attempt this Project? ................................................................................. 3
Tools you'll need ............................................................................................................ 3
Helpful Tools .................................................................................................................. 3
Project Overview ............................................................................................................ 3
Important Safety Notes ................................................................................................... 4
About Components ......................................................................................................... 4
Recommended Solder ..................................................................................................... 4
Warranty ......................................................................................................................... 4
Section 2: Kit Building Hints .............................................................................................. 5
Section 3: Building the Power Supply ................................................................................ 6
Component Order............................................................................................................ 7
Install the Resistors ......................................................................................................... 7
Install the diodes ............................................................................................................. 7
Install R14 ....................................................................................................................... 8
Install the TO-220 Regulators, Power Transistors and Heatsinks .................................. 8
Assembly Hint ............................................................................................................ 9
Install the Small Non-polar Capacitors ......................................................................... 10
Install Shunt Regulator and Small Transistor ............................................................... 10
Install the Electrolytic (polarized) Capacitors .............................................................. 10
Check your work ........................................................................................................... 11
Checking the preamp and old power supply ..................................................................... 11
If your voltages were out of tolerance ...................................................................... 12
Removing the Old Power Supply ................................................................................. 13
Installing the New Power Supply ................................................................................. 15
Testing the power supply in place ............................................................................ 16
Final Re-Assembly.................................................................................................... 17
About the Design .......................................................................................................... 17
Table of Figures
Figure 2-Empty the power supply components into a soup bowl ....................................... 6
Figure 3-Silk screen shows power supply component locations ........................................ 6
Figure 4-Regulator and Heat Sink Assembly Detail........................................................... 8
Figure 5-Applying thermal compound ................................................................................ 9
Figure 6-Heatsink Installation............................................................................................. 9
Figure 7-Line up the bottom heatsink to not touch the nearby trace ................................ 10
Figure 8-Remove hardware that holds power supply bracket to chassis floor ................. 13
Figure 9-Remove these 2 screws and 2 screws on the opposite side ................................ 14
chassis ............................................................................................................................... 14
Figure 11-Mount new PCB to shield and mounting brackets ........................................... 15
Page 2 of 18
