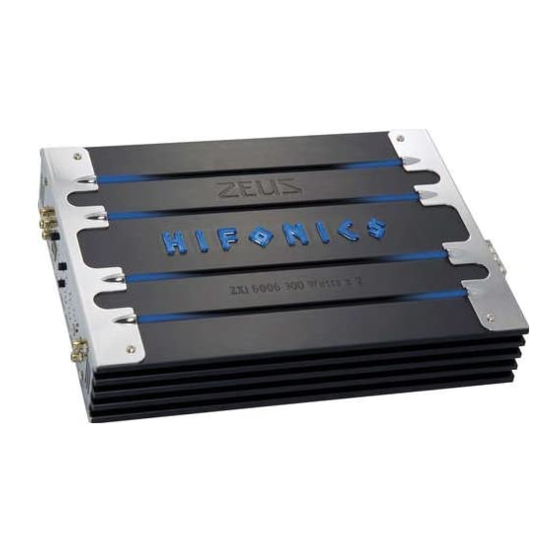
Hifonics Zeus ZXi8006 Manual - Página 5
Navegue en línea o descargue pdf Manual para Amplificador de coche Hifonics Zeus ZXi8006. Hifonics Zeus ZXi8006 15 páginas.

- 1. Table of Contents
- 2. General Installation Procedure
- 3. Amplifier Feature Descriptions
- 4. Zxi6006 / Zxi1006 2 CHANNEL AMPLIFIER APPLICATIONS
- 5. Zxi4406 / Zxi6406 4 CHANNEL AMPLIFIER APPLICATIONS
- 6. Zxi8006 5 CHANNEL AMPLIFIER APPLICATIONS
- 6. Channel Discrete, One Being Mono Low Pass / 3 or 4 Channel Discrete, One Being Mono Low Pass / 3 Way Active
- 6. Front/Rear High Pass, with Constant Sub Bass
- 7. Setting up Systems after Installation for Best Performance
- 8. Troubleshooting and Diagnostics
- 9. Features and Specifications
- 10. Product Warranty
ZXi6006 / ZXi1006 2 CHANNEL AMPLIFIER APPLICATIONS
FULL RANGE STEREO
This is the most basic application for the ZEUS Series 2 channel amplifiers.
This is the most basic application for the ZEUS Series 2 channel amplifiers.
1. Interconnect cable checklist:
1. Interconnect cable checklist:
Connect the LINE INPUTS to the Radio/CD with good quality RCA cables.
LINE INPUTS
Connect the
to the Radio/CD with good quality RCA cables.
2. Crossover Switch:
2. Crossover Switch:
The X-OVER switch must be in the FLAT position.
X-OVER
The
switch must be in the
3. Crossover frequency control checklist:
3. Crossover frequency control checklist:
N/A for full range operation.
N/A for full range operation.
FULL RANGE
STEREO LINE INPUT
B OOS T
H FR - 3
M I N
M A X X
FULL RANGE MONO
This application illustrates the basic mono bridging method for all Hifonics
This application illustrates the basic mono bridging method for all Hifonics
amplifiers.
amplifiers.
Interconnect cable checklist:
Interconnect cable checklist:
A MONO signal source is required, such as would be available from the mono
A MONO signal source is required, such as would be available from the mono
sub bass output of an active crossover, whether stand alone, or built into a head
sub bass output of an active crossover, whether stand alone, or built into a head
unit or equalizer. Important: Do not be tempted to connect the hot, or positive
Important:
unit or equalizer.
Do not be tempted to connect the hot, or positive
outputs, from any source together to obtain a mono signal, as this could very
outputs, from any source together to obtain a mono signal, as this could very
well damage the output stage of that source.
well damage the output stage of that source.
It is necessary to feed the SAME signal to both left and right inputs via a Y-
It is necessary to feed the SAME signal to both left and right inputs via a Y-
adapter RCA cable. Connect the mono speaker positive terminal to the LEFT +,
adapter RCA cable. Connect the mono speaker positive terminal to the LEFT +,
and its negative terminal to RIGHT -.
and its negative terminal to RIGHT -.
FULL RANGE
MONO LINE INPUT
VIA Y-ADAPTER
FROM MONO SOURCE
B OOS T
H FR - 3
M I N
M A X X
FLAT
position.
4. Line Level:
4. Line Level:
Refer to the section
Refer to the section "Setting up systems after installation for best performance"
"Setting up systems after installation for best performance"
5. Bass Remote Module:
5. Bass Remote Module:
Plug in the Bass Remote Module to the amplifier "REMOTE" jack.
Plug in the Bass Remote Module to the amplifier "REMOTE" jack.
NOTE: Minimum final loudspeaker impedances:
NOTE: Minimum final loudspeaker impedances:
4 & 2 Ohms stereo mode or 4-Ohms mono mode
4 & 2 Ohms stereo mode or 4-Ohms mono mode
This amplifier will not do 1 Ohm stereo or 2/1 Ohm mono operation.
This amplifier will not do 1 Ohm stereo or 2/1 Ohm mono operation.
Switch setting checklist:
Switch setting checklist:
- The AMPLIFIER X-OVER switch must be in the FULL position.
AMPLIFIER X-OVER
- The
switch must be in the
Crossover frequency control setting checklist:
Crossover frequency control setting checklist:
N/A for full range operation.
N/A for full range operation.
TIP:
TIP: If you are using the mono sub bass output of an active crossover, there is
If you are using the mono sub bass output of an active crossover, there is
nothing wrong with switching in the low pass filter in these amplifiers for a
nothing wrong with switching in the low pass filter in these amplifiers for a
steeper low pass rolloff.
steeper low pass rolloff.
Minimum final loudspeaker impedance:
Minimum final loudspeaker impedance:
- 4 ohm mono.
- 4 ohm mono.
FULL RANGE
SPEAKERS
TO BATTERY +12v
VIA FUSE
REMOTE TURN-ON
CHASSIS GROUND
FULL
position.
FULL RANGE
MONO SPEAKER
TO BATTERY +12v
VIA FUSE
REMOTE TURN-ON
CHASSIS GROUND
3
