High Tech Pet Armor Flex Manual de instalación - Página 8
Navegue en línea o descargue pdf Manual de instalación para Producto para el cuidado de mascotas High Tech Pet Armor Flex. High Tech Pet Armor Flex 16 páginas. Low-e patio pet door

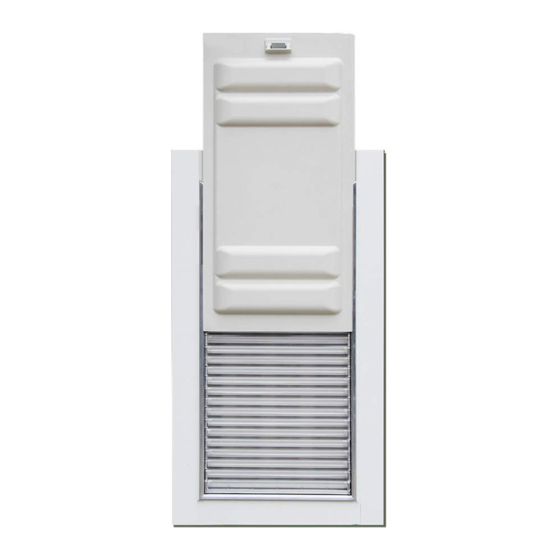
STEP 9: Loosen the Top Slider set screws
Loosen the Top Slider locking set screws on the left and right
sides of the Top Panel Assembly using the 1/8" Allen wrench
provided. If the Top Slider does not immediately release, push it
up by hand so that it slides to its highest position.
Fig 9
STEP 10: Insert the patio pet door into your sliding glass door track
Fig 10A
Fig 10C
Fig 10B
Make sure the lock holes in the Top Frame Assembly are facing the inside of your home. Position the pet
door assembly into your sliding glass door frame by first inserting the pet door Bottom Panel into the
bottom of your door track so that the Simi-circular groves in the pet door Bottom Panel are placed over
the sliding rail at the base of your sliding glass door track (Fig 10A). Tilt the pet door assembly up. (Fig
10B). pull down on the Top Slider. Insert the Top Slider into the top of your door track and release,
allowing it to move up into the top of the track.
STEP 11: Install a House Lock Tab on the
Top Panel Assembly
Install a House Lock Tab on the wall side of the pet door
by screwing (2) #6 X ½" round head sheet metal screws
into the pre-drilled holes on the pet door. Position the
Tab with the open end pointing downward as shown.
Fig 11
8
