Copernicus COP-IS2 Manual de montaje - Página 9
Navegue en línea o descargue pdf Manual de montaje para Equipamiento educativo Copernicus COP-IS2. Copernicus COP-IS2 16 páginas.
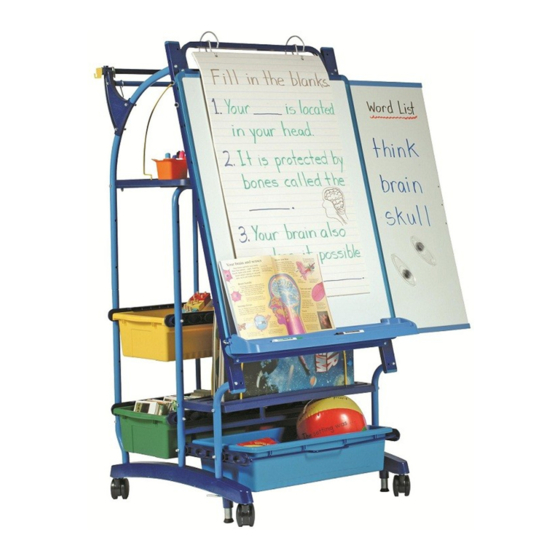
Actual Size:
7
You will need:
2 Person Task
Select Your Whiteboard Height
& Orientation
1
Select a Whiteboard position to suit the height that works best for your
classroom:
!
- Early childhood and primary teachers may prefer a lower position
- Junior & intermediate teachers may prefer a higher position
Note the holes that work best for you; there are three options on the
Inspiration Station
2
You may attach the Whiteboard so that the Sliding Whiteboard slides out to the left or to the right. Note
the label on the Whiteboard that will help to determine how to attach the whiteboard so that the board
!
slides out to the preferred side. Make sure the Sliding Board is oriented to the desired side when you
attach it.
Attach Whiteboard
!
Put brakes in the locked/down position to hold the unit steady
3
Using the holes that you selected as the correct height for your classroom
(Step 1), secure the Whiteboard to the Whiteboard Supports
- Fasten using M6 30mm bolts, 6mm lock washers & acorn nuts
- Tighten bolts
4
Peel off plastic film on the Whiteboard before use
K
K
x 4
(Not to Scale)
Whiteboard x 1
F I
IS2 - Version E - Released 22 June 2010 - Copernicus Educational Products Inc.
F
I
x 4
x 4
!
Lock Brakes
High position
Middle position
Low position