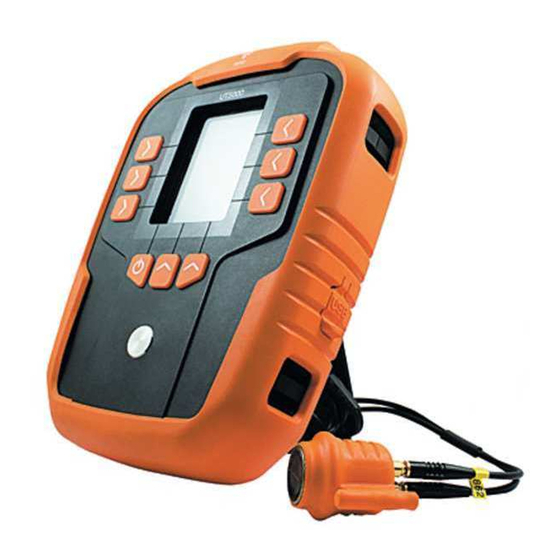
Cordex UT5000 Manual del usuario - Página 8
Navegue en línea o descargue pdf Manual del usuario para Equipos de prueba Cordex UT5000. Cordex UT5000 12 páginas. Intrinsically safe ultrasonic thickness gauge
También para Cordex UT5000: Manual del usuario (13 páginas), Manual de inicio rápido (3 páginas), Instrucciones para un uso seguro (7 páginas), Instrucciones para un funcionamiento seguro (8 páginas)
6. RFID TAG SETUP
DETECTING A TAG
Position the UT5000 so that the cutout area on the top of the unit is within 5cm of the
RFID tag. Press the Scan button. The RFID tag reference number is displayed across the
top of the screen. If this is the first time the UT5000 has detected this tag, it
automatically enters the Tag Alias screen (see below).
TAG SETUP
To set up the details of the currently detected RFID tag, press SETUP.
Use the arrow keys to highlight Tag Setup, then press the SEL key. The Tag Setup menu
is displayed. Use the arrow keys to highlight one of the following options, then press
the SEL key:
Edit Tag Alias
Material Velocity
Setup Alarms
Tag Points
You can also set up RFID tag information through the UT5000 mini app (see page 16).
TAG ALIAS
Use the on-screen keyboard to define the name of the RFID Tag.
Use the arrow keys to highlight the required character, then press the SEL key.
Repeat this procedure until you have entered the full name.
Use the arrow keys to highlight ACCEPT, then press the SEL key.
MATERIAL VELOCITY
Select a predefined material and velocity from the UT5000's internal table or define
your own. The value will be assigned to the RFID Tag.
This procedure has been described on page 10.
SETUP ALARMS
To set alarms for thickness measurements at this RFID Tag, highlight the Low or High
alarm option, then press the SEL key.
Use the arrow keys to highlight the required digit, then press the SEL key.
Repeat this procedure until you have entered the full value.
Use the arrow keys to highlight ACCEPT, then press the SEL key.
The ALARM key on the main display provides a shortcut to this menu option.
TAG POINTS
Use the arrow keys to highlight the number of measurements (1-9) to be stored for
each RFID Tag, then press the SEL key.
12
PULSE FREQUENCY
The pulse frequency determines the rate of repeated measurements. To change the
pulse frequency:
Press the FREQ key, or
Press the SETUP key. Use the arrow keys to highlight Pulse Frequency, then press the
SEL key.
Choose from the following options:
Single shot
The UT5000 takes one measurement.
1, 2, 3, 4, 5, 6, 7 or 8 Hz
Measurements are taken continuously at the selected rate and continue until the STOP
key is pressed.
TRANSDUCER SELECT
Identify the type of transducer probe, e.g. 4MHz transducer.
MULTI ECHO
The Multi Echo option allows averaging of individual measurements for greater
accuracy on uneven surfaces.
Choose from the following options:
Off
2,3 or 4
Use the arrow keys to highlight the required option then press the SEL key.
PROBE ZERO BUILT IN
Select this option to calibrate/zero the probe using the UT5000's built-in calibration
disc (see page 5).
PROBE ZERO/CAL DOUBLE
Use this option to carry out a custom, two block, calibration.
MEASURE MATERIAL VELOCITY
Select this option to estimate the material velocity for a sample of known thickness.
7. TRANSDUCER SETUP
Ref. ID 5001, Rev. C
13