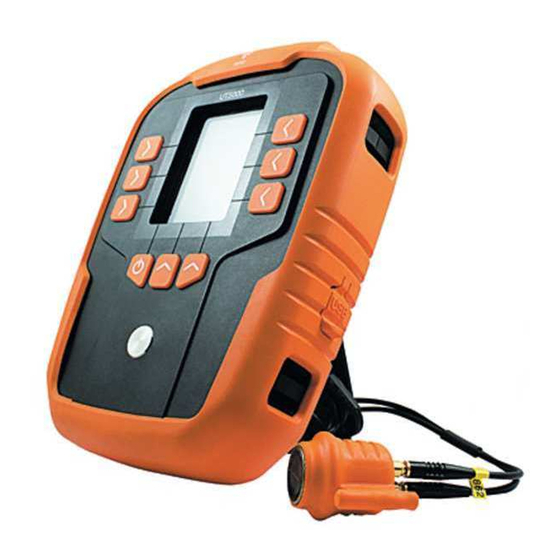
Cordex UT5000 Manual del usuario - Página 9
Navegue en línea o descargue pdf Manual del usuario para Equipos de prueba Cordex UT5000. Cordex UT5000 12 páginas. Intrinsically safe ultrasonic thickness gauge
También para Cordex UT5000: Manual del usuario (13 páginas), Manual de inicio rápido (3 páginas), Instrucciones para un uso seguro (7 páginas), Instrucciones para un funcionamiento seguro (8 páginas)

8. GAUGE SETUP
To display the Gauge Setup menu, press SETUP. Then, use the arrow keys to highlight
Gauge Setup and press the SEL key.
Choose from the following options:
Date Format
Sleep Timer
Units
Handedness
Use the arrow keys to highlight the required option, then press the SEL key.
DATE FORMAT
Choose from the following formats:
YYYY/MM/DD
MM/DD/YYYY
MM/DD/YYYY
The time and date are updated automatically whenever you connect to the UT5000
mini app, CorDEX CONNECT or to CorDEX CAMS. Time and Date cannot be set
manually.
SLEEP TIMER
To save power, the UT5000 will switch off after the specified period of inactivity.
Choose the time period: 1min, 2min, 3min, 4min or 5min.
UNITS
Choose whether the UT5000 uses and displays metric or imperial units.
HANDEDNESS
Choose whether the main functions of the UT5000 use the buttons on the left or right
side. The "handedness" setting refers to the hand used by the operator to hold the
device. For example, if the operator holds the device in their right hand, a 'right'
handedness setting ensures that the main functions of the UT5000 are operated by
buttons on the left side of the unit.
You can also set the Date Format and Sleep Timer using the UT5000 mini app.
14
NEVER OPEN THE BATTERY OR USB COMPARTMENTS
IN A HAZARDOUS ENVIRONMENT.
To view stored data, press the VIEW key on the main display.
Select STORED DATA, then press the SEL key.
Choose from the following options:
Stored Measurements
Reset Basic Gauge Setup
STORED MEASUREMENTS
Data is listed for each registered RFID Tag in the following format:
RFID Tag
Tag Alias
Material, source and name, e.g. From List: Alumin
Vel: Material velocity
Min: Minimum measurement
Max: Maximum measurement
Mea: Average measured value
Date: date of last measurement
Time: time of last measurement
Use the up and down arrow keys to scroll through saved measurements.
RESET BASIC GAUGE SETUP
Select this option to restore the factory default gauge settings, for example, Pulse
Frequency. Tag and material information is not affected.
9. VIEWING DATA
15
Ref. ID 5001, Rev. C
