Airflow OW7205 Manual de instrucciones de instalación - Página 4
Navegue en línea o descargue pdf Manual de instrucciones de instalación para Ventilador Airflow OW7205. Airflow OW7205 8 páginas. Smart series wall/window fans

• Where double glazed windows are required the Double-Glazing Kit OW7957 for
the 23/9 series or the OW7999 for the 30/12 series can be used. They suit
applications with up to 300mm intervals between the windows.
INSTALLATION INSTRUCTIONS
All fans should be installed by a suitably qualified person in accordance with AS/
NZ3000.2000 and relevant building codes. Disconnect supply before making any
electrical connections.
For best results the fan should be mounted as high as possible, and provision
should be made for return air to enter the room on the opposite side.
Cut appropriate size hole through window or wall as per template on this
instruction and keep in mind a minimum clearance from obstructions (such as
window sills) will be needed (230mm from centre of fan for 23/9 series and 245mm
for 30/12 series).
WINDOW INSTALLATION
Outside the Room
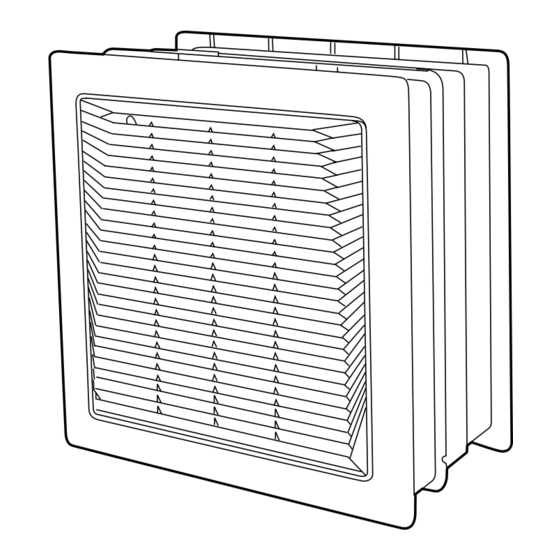
1. Separate fan into four main components, see Fig.1.
2. Place external grille through hole (ensure grille vents are facing downwards
and window gasket is in place).
Inside the Room
1. Run supply cable to the top where fan is to be positioned (ensure end of cable
is stripped and terminal block is removed to allow cable access), see Fig.2.
2. Place gasket over external grille's spigot.
3. Push Grey Enclosure (with terminal block to the top) on to spigot. The ratchet
operation will hold the Enclosure to the External Grille. Push Enclosure until it
is firmly up against the gasket. Snug fit is achieved by tightening of fixing tabs
with a screwdriver, see Fig.2a.
4. Make electrical connections to the terminal block and ensure cable is
adequately retained.
5. Push Fan Assembly through Enclosure until it clicks in place by means of two
locking tabs on left and right of Enclosure. Secure fan assembly by tightening
fixing screw, see Fig.3.
6. Attach Internal Grille to Enclosure and secure in place by tightening Grille
fixing screws, see Fig.3.
7. Make electrical connections back at controller or appropriate isolator.
WALL INSTALLATION
Inside the Room
1. Separate fan into four main components, see Fig.1.
2. Remove the four rectangular copper tags (located at each corner of the Grey
Enclosure), see Fig. 2a.
