HIKVISION DS-2CE16D8T-IT3 Manual del usuario - Página 9
Navegue en línea o descargue pdf Manual del usuario para DVR HIKVISION DS-2CE16D8T-IT3. HIKVISION DS-2CE16D8T-IT3 15 páginas. Turret cameras turbo hd d8t series
También para HIKVISION DS-2CE16D8T-IT3: Manual de inicio rápido (17 páginas), Manual del usuario (15 páginas)
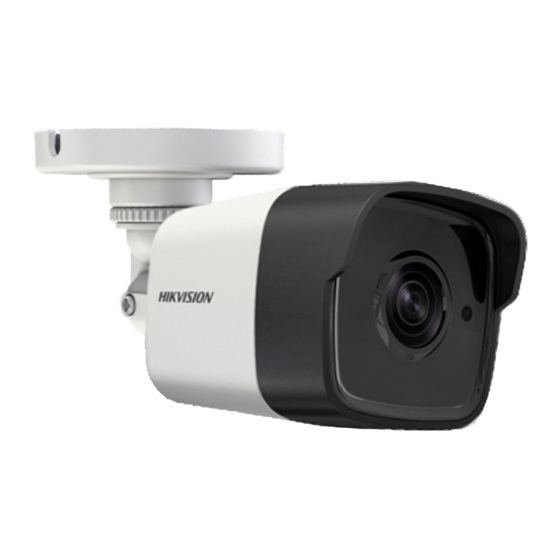
Type I Camera
Figure 2-15 Drill Template of the Junction Box
Note:
Drill the cable hole, when adopting the ceiling
outlet to route the cable.
3. Take apart the junction box, and align the screw
holes of the turret camera's mounting base with
those on junction box's cover.
4. Fix the mounting base on junction box's cover by
supplied screws.
5. Secure the junction box's body with supplied screws
on the ceiling/wall.
6. Combine the junction box's cover with the junction
box's body.
Junction Box Body
7. Repeat steps 6 to 9 of 2.1.1 Ceiling/Wall Mounting
without Junction Box to install the camera to the
junction box.
2.3.2 Wall Mounting
Before you start:
You need to purchase a wall mounting bracket
separately.
Steps:
1.
Drill four screw holes in the wall according to the
holes of the bracket.
2. Install the bracket to the wall by aligning the four
screw holes of the bracket with expansion screws on
the wall.
3. Secure the bracket with four hex nuts and washers.
Type I Camera
4. Install the mounting base of the turret camera to
the wall mounting bracket, and secure them with
supplied screws.
Figure 2-16 Fix the Junction Box
Figure 2-17 Install the Bracket
Junction Box Body
Junction Box Cover