Gardena 19500 AquaSensor Manual del usuario - Página 7
Navegue en línea o descargue pdf Manual del usuario para Bomba de agua Gardena 19500 AquaSensor. Gardena 19500 AquaSensor 12 páginas. Clear/dirty water submersible pump
After disconnecting the power supply, the pump auto matically switches
back to automatic operation.
To return to the automatic mode again, push and hold the 2 sensor
ß
ß
fields
and
simultaneously until the double flashing of all LEDs has
S7
S8
acknowledged the input.
To change the function mode:
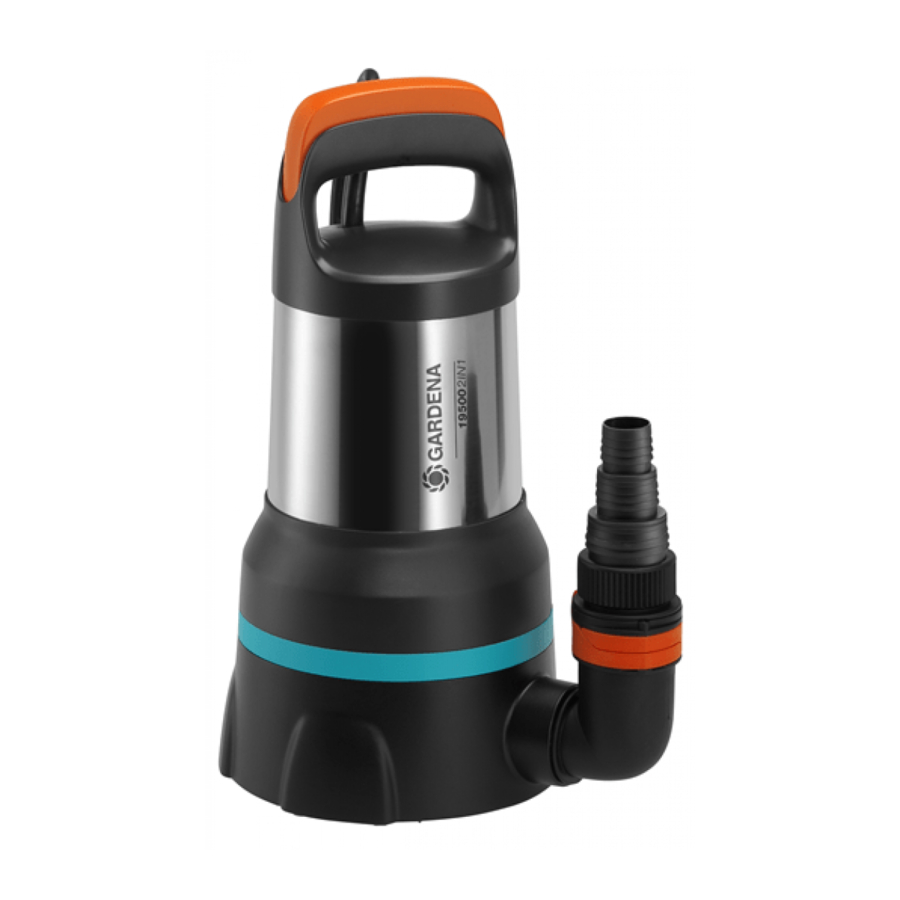
The pump can be switched between clear water and dirty water.
To do this, the pedestal is extended or retracted.
To extend the pedestal (dirty water) [ Fig. O2 – O5 ]:
1. Take the pump out of the water [ Fig. O2 ].
2. Lift up the pump and push the button
extended [ Fig. O3 ].
3. If the pedestal does not extend completely, stand with your feet on
the wings of the stand and pull the pump upwards [ Fig. O4 ].
(6)
4. Release the button
again before you put the pump back down
[ Fig. O5 ].
The max. delivery rate is achieved with the pedestal extended.
The pedestal is correctly locked in position when the button is fully
extended. If the button is not fully extended, repeat the process.
To retract the pedestal (clear water) [ Fig. O6 – O9 ]:
1. Take the pump out of the water [ Fig. O6 ].
2. Place the pump on a firm surface and push the button
3. Push the pump down until the pedestal
the handle [ Fig. O8 ].
4. To lock, push the pump down until the button
[ Fig. O9 ].
5. When submerging the pump again, make sure that it is on a firm
surface so that it cannot get stuck (e. g. foil).
The minimum residual water depth (see 7. TECHNICAL DATA) is only
achieved with the pedestal retracted in manual mode.
For best possible suction, we recommend switching to clear water mode
when the water level has reached the turquoise ring.
4. MAINTENANCE
DANGER! Risk of physical injury!
Injury when the product starts accidentally.
v Disconnect the product from the mains before you maintain
the product.
To clean the pump:
DANGER! Risk of physical injury!
Risk of injury and risk of damage to the product.
v Do not clean the product with a water jet (in particular
high-pressure water jet).
v Do not clean with chemicals including petrol or solvents.
Some can destroy critical plastic parts.
v Clean the surface of the pump with a damp cloth.
To flush the pump:
After pumping water containing chlorine, detergents or heavily soiled
water, the pump must be flushed.
1. Pump lukewarm water (max. 35 °C), possibly adding a mild cleaning
agent (e. g. detergent) until the pumped water runs clear.
2. Flush the button if the water is very dirty.
3. Remove residuals according to the waste disposal laws applicable in
your area.
To clean the button [ Fig. M1 ]:
If the button gets stuck due to dirt, it can be cleaned.
(13)
1. Push in the two lockings
.
(6)
2. Pull off the button
.
(6)
3. Clean the button
, the lockings
water.
(6)
4. Reassemble the button
in reverse order.
(6)
until the pedestal
(7)
is fully
(6)
[ Fig. O7 ].
(7)
is fully retracted and release
(6)
is fully extended again
(13)
and the handle under running
5. STORAGE
To put into storage:
The pump is not frost-proof!
The product must be stored away from children.
1. Disconnect the pump from the mains.
2. Turn the pump upside down until no more water runs out.
3. Clean the pump (see 4. MAINTENANCE).
4. Store the pump in a dry, enclosed and frost-free place.
Disposal:
(in accordance with RL2012/19/EC)
The product must not be disposed of to normal household
waste. It must be disposed of in line with local environmental
regulations.
IMPORTANT!
v Dispose of the product through or via your municipal recycling
collection centre.
6. TROUBLESHOOTING
DANGER! Risk of physical injury!
Injury when the product starts accidentally.
v Disconnect the product from the mains before you trouble-
shoot the product.
To clean the pedestal and the impeller [ Fig. T1 / T2 ]:
If the pedestal cannot be changed according to the chapter
3. OPERATION To change the function mode, the pedestal must
be cleaned.
1. Unscrew the 4 Phillips screws
(9)
2. Pull the suction base
off the pump.
3. Unscrew the 4 Phillips screws
4. Pull the pedestal
(7)
off the suction base
5. Clean the pedestal
(7)
, the suction base
(the warranty does not become void as a result of this maintenance
work).
(14)
6. Clean the sealings
carefully to avoid damage and leakage.
(7)
7. Reassemble the pedestal
and the suction base
Make sure that the 4 springs
(12)
(7)
pedestal
.
A damaged seal must be replaced.
For safety reasons a damaged impeller can only be exchanged
by the GARDENA Service Centre.
Problem
Possible Cause
Pump is running, but
Air cannot escape, because
doesn't deliver water
the pressure line is closed.
(Possible kink in the pressure
hose.)
Air in suction foot.
All LEDs and
ß
blink
Impeller is blocked.
S1
alternately
ß
All LEDs and
blink
Suction opening is clogged.
S2
alternately
Hose is clogged.
Water level below minimum
water level when put into
operation.
All LEDs and
ß
blink
Sensor is dirty.
S3
alternately
ß
All LEDs and
blink
Time is exceeded.
S4
alternately
Pump does not start or
Thermal switch has turned
stops suddenly during
the pump off because of over-
operation
heating.
Pumping without electricity.
(8)
.
(10)
.
(9)
.
(9)
and the impeller
(11)
(9)
in reverse order.
are fitted on the domes
(15)
of the
Remedy
v Open the pressure line
(e. g. shut-off valve, delivery
units).
v Wait for about 3 minutes
until the pump has vented;
if necessary, turn off and
then on again.
v Clean the pedestal and the
impeller.
v Clean the suction opening
with a water jet.
v Remove the clog from the
hose.
v Submerge the pump deeper.
v Clean the sensor.
v Place the pump in water
within the countdown.
v Clean the suction opening.
Observe the max. media
temperature (35 °C).
v Check fuses and electrical
plug connections.
11