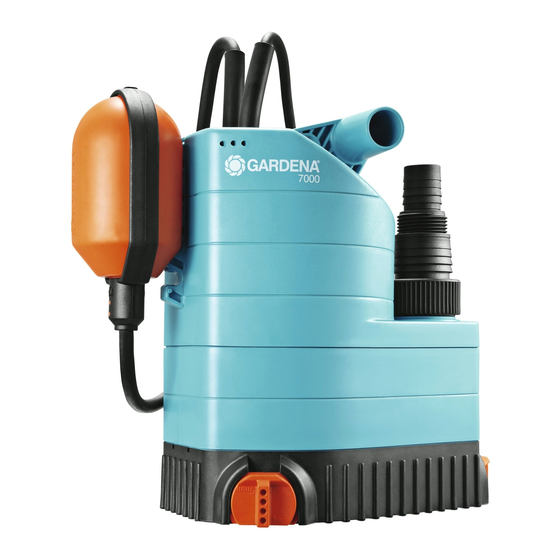
Gardena WSP 7000 Manual de instrucciones - Página 5
Navegue en línea o descargue pdf Manual de instrucciones para Bomba de agua Gardena WSP 7000. Gardena WSP 7000 8 páginas. Submersible pump / dirty water pump
También para Gardena WSP 7000: Manual de instrucciones (14 páginas), Manual de instrucciones (14 páginas)
G
Horizontal or
Loosen the regulator by turning it anti-clockwise until you
.
second outlet
achieve the desired water flow from the vertical pipe of the
(➔ operating a stream)
fountain / water feature.
In order to operate a stream we recommend the connector
.
of a 1" (25 mm) GARDENA Spiral Pond Hose, Art. No. 7896.
Connect it to the volume control of the second outlet and run
the other end of the hose to the source of the stream.
You may connect other terminals to the second outlet.
.
For example, a separately installed water jet may be operated
via the GARDENA Fountain / Light Bracket, Art. No. 7886.
If necessary fix the light jet base with two screws.
Information:
This significantly reduces the volume of the vertical water jet.
If the max. delivery capacity of the second outlet is to be used
.
then the vertical outlet should be closed with the end cap sup-
plied.
Example: Hose pipe connection with the GARDENA
.
Fountain / Light Bracket
To achieve the maximum power of your pump we recommend
you use a 25 mm (1") GARDENA Spiral Pond Hose, Art. No.
7896, together with the GARDENA Suction Hose Fittings, Art.
No. 1724.
Alternatively, you can use the 19 mm (3 /4") GARDENA Pond
Hose, Art. No. 7895, together with the GARDENA "Profi"
Maxi-Flow System Threaded Tap Connector, Art. No. 2802,
and the GARDENA "Profi" Maxi-Flow System Hose Connector,
Art. No. 2817.
Care Instructions
Cleaning the filter tank
Filter tank and pump should be free from dirt particles!
How to clean :
Disconnect the plug!
.
Remove the pump from the water.
.
If necessary remove the gravel.
.
Clean the pump and the filter using a water jet.
.
If there are deposits of dirt inside the pump then dismantle the
.
casing (➔ ➔ see "Dismantling ") and carefully clean the interior
fittings with water.
Information: Do not use any hard objects or strong detergents!
Blocked feed impeller
If the feed impeller becomes blocked, the pump and the filter
should be cleaned (see above).
14
Dismantling
7. Turn the pump casing
towards the front and remove it! Do not tilt !
8. Hold the rotor by the feed impeller and pull the complete unit
out of the motor casing
9. Now you may remove the filter ring
the motor casing.
Then assemble all the fittings reversing the order and direction
.
in which they were dismantled. Please take care that the seal
6
ring
➔ Make sure while assembling that you attach the pump casing
with the pressure joint being cated, press it firmly and then
turn it straight to the right.
Storage
Where to store
The pump should be stored out of the reach of children.
A
1. Take the pump out of the water and store away from frost
before the first frost sets in.
2. Clean and check the pump carefully.
3. Store the pump in a container filled with water.
The mains plug must not be submerged.
Complaints / Repairs
If a fault occurs, the pump attempts to switch itself on up to
10 times. If the pump still fails to start, it switches itself off auto-
matically after 40 seconds.
➔ Remove mains plug and clean the pump if necessary.
If you have any problems with your Fountain / Stream Pump, please
contact our Service or return the defective unit together with a
short description of the problem – in case of guarantee, with the
warranty card duly completed and signed – postage paid to one
of the GARDENA Service Centres listed on the back of this leaflet.
The mains cable must only be replaced by GARDENA.
Product liability
We expressly point out that, in accordance with the product
liability law, we are not liable for any damage caused by our
units if it is due to improper repair or if parts exchanged are not
original GARDENA parts or parts approved by us, and, if the
repairs were not carried out by a GARDENA Service Centre.
The same applies to spare parts and accessories.
1. Disconnect the plug!
2. Remove the pump from the water.
3. If necessary remove the gravel.
4. Pull the pump pointing vertically
upwards out of the filter tank.
5. Pull the suction filter casing
and remove it.
2
6. Remove the foam filter
from the
suction piece of the pump.
3
to the left and then pull it straight
7
.
5
and the seal ring
is properly re-fitted.
G
1
forwards
4
6
from
15