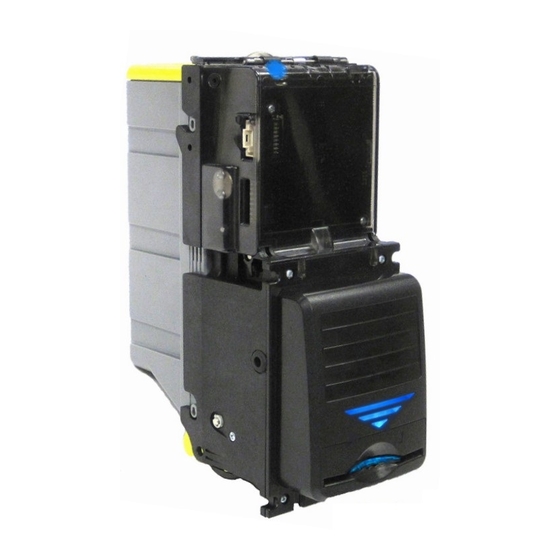
CPI CXB2 Manual de instalación - Página 10
Navegue en línea o descargue pdf Manual de instalación para Validador de billetes CPI CXB2. CPI CXB2 13 páginas.

DIAGNOSTICS:
If all Bezel lights are in Solid Red, block the note path sensors by inserting a bill or piece of
cardboard into the note path and count the number of Diagnostic LED flashes. Then refer to the
diagnostic chart below:
## of flashes
1 red on black
2 red on black
3 red on black
4 red on black
5 red on black
6 red on black
7 red on black
8 red on black
9 red on black
10 red on black
11 red on black
12 red on black
13 red on black
1 blue on red
(boot)
2 blue on red
(boot)
3 blue on red
(boot)
4 blue on red
(boot)
5 blue on red
(boot)
MECHANICAL DIMENSIONS:
The CXB2 note validator is usually installed on a door or a panel. The panel or door must have a
rectangular cut-out and four threaded studs as per diagram below.
©
CPI 2016
Event
Cassette is removed from note validator
Sensor board failure
Cassette is full
Failure of the Stacker mechanism
Failure of the Discrete bill path sensors
Failure of the Optical Array sensor
Failure of the Cross sensor
Failure of the Transport mechanism
Validation data module integrity error
Firmware modules incompatibility
Note pathway is not empty (bill is jammed)
Optical Array sensor is not calibrated
Internal 12V Power level is too low
Unable to write program memory
Firmware integrity error
Wrong USB flash drive or firmware update
file is not found
Firmware update file format error
USB OTG I/O error
P/N# 253052002
CXB2
Mexico
Figure 8
http://www.cranepi.com
10
