EnStar ENMD Series Manual del usuario - Página 15
Navegue en línea o descargue pdf Manual del usuario para Aire acondicionado EnStar ENMD Series. EnStar ENMD Series 20 páginas.
- 1. Table of Contents
- 2. Sociable Remark
- 3. Safety Precautions
- 4. Safety Rules
- 5. Air Conditioner Features
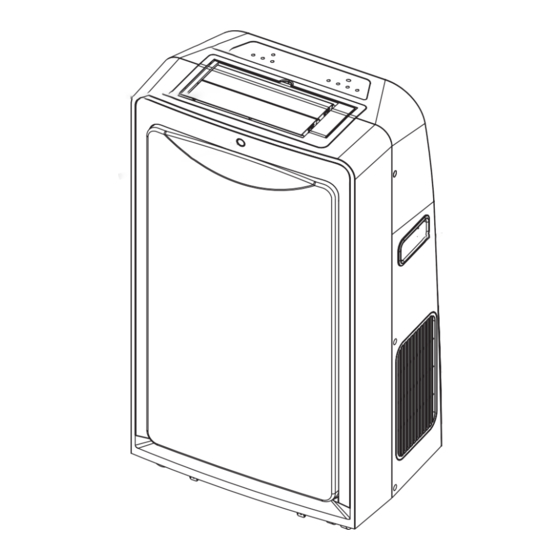
- 6. Names of Parts
- 7. Accessories
- 8. Electronic Control Operating Instructions
- 9. Operatiing Instructions
- 10. Operating Instructions
- 11. Installation Instructions
- 12. Care and Maintenance
- 13. Troubleshooting Tips
- 14. Troubleshooting
7
WATER DRAINAGE
A) During Cooling Mode:
-
When the LED(LCD) display window shows P1 , the unit stop operation automatically.
-
Release the drain hose from the rubber clip, and pull out the rubber plug,let the drain hose slant down
to a water container (which has a capacity of about 8 liters)(see Fig.1& 2). After draining off the water,
use the rubber clip to fasten the hose upward, attach the rubber plug to the open end of the hose.
Failure to comply with the procedure will result in flooding.
-
This unit also has provisions for a contunuous drain option. Open the water filling cover, inside
you will find a drain hose connector, attach a section of drain hose (included with this unit) to the
connector. Place the open end of the hose directly over the drain area in your basement floor or in
a water container(which has a capacity of about 8 liters) (see Fig.3 & 4).
B) During Dehumidifying Mode:
-
open the water filling cover, inside you will find a drain hose connector, attach a section of drain
hose (included with this unit) to the connector. Place the open end of the hose directly over the
drain area in your basement floor or in a water container (8L)(see Fig.3 & 4).
Fig.1
Fig.3
Drain option A
(For cooling operation only)
Release the hose from the rubber
clip and slant the drain hose down.
Drain option B
Press the lower side
of the cover to open it.
Attach a section of drain
hose to the connector
inside.
OPERATING INSTRUCTIONS
Fig.2
Fig.4
14