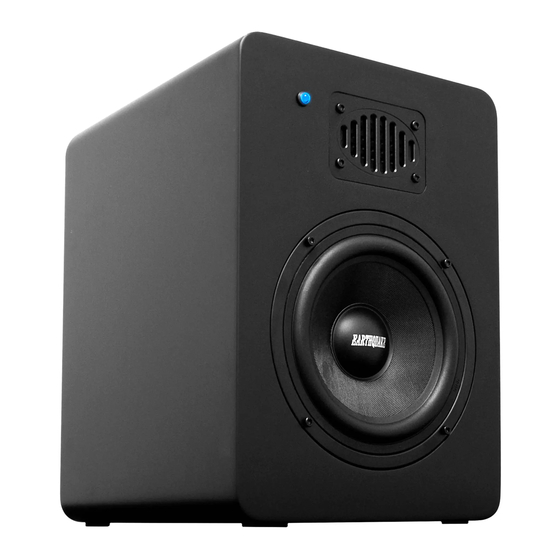
EarthQuake Mpower8 Manual del usuario - Página 4
Navegue en línea o descargue pdf Manual del usuario para Altavoces EarthQuake Mpower8. EarthQuake Mpower8 8 páginas. Studio powered monitor

Amplifier Features
1
2
3
4
5
6
USE ONLY WITH AC 250V FUSE
1. Unbalanced RCA Input
RCA input for connecting the MPower monitor to your TV,
computer, DJ equipment, mobile device, etc.
2. Balanced 1/4" TRS Input
10kOhm balanced TRS input for connecting
monitor to
your audio interface or mixer. For best result, be
sure to use a balanced 1/4" TRS phone plug.
3. Balanced XLR Input
10kOhm balanced XLR input for connecting
monitor to
your audio interface or mixer.
NOTE:
Tip
↔
Pin 1
Sleeve (Shield) = Ground (cable shield)
↔
Pin 2
Tip = Positive/Red/Hot
↔
Pin 3
Ring = Negative/Black/Cold
CONNECT ONLY ONE INPUT SOURCE AT A TIME.
6
Earthquake Sound Corp. | (510) 732-1000 | www.earthquakesound.com
7
-80dB
8
the MPower
the MPower
Balanced TRS
Ring
Sleeve
Unbalanced TS
4. Main Power Switch
This switch controls the AC power going to the MPower
monitor. We suggest keeping the switch in the OFF
position when the monitor is not being used for an
extended period of time.
5. 110V/220V Selector Switch
The MPower monitors can operate in a 110-120V or 220-
240V environment.
required power input setting and replace the fuse to the
proper rating prior to connecting the monitors to the
power source.
USE OF IMPROPER VOLTAGE MAY RESULT IN
HAZARDOUS CONDITIONS AND/OR DAMAGE TO THE
MONITOR COMPONENTS THAT ARE NOT COVERED
BY THE FACTORY WARRANTY.
FOR YOUR SAFETY, PLEASE MAKE SURE THAT THE
MONITOR IS NOT CONNECTED TO ANY POWER
SOURCE PRIOR TO ACCESSING THE AC SELECTOR
AND FUSE COMPARTMENT.
6. AC Power Inlet with Fuse Holder
This AC line connector is fused to protect the amplifier from
unwanted power surges. Be sure to use the proper fuse
USE ONLY WITH AC 250V FUSE
rating when replacing the existing fuse:
M6: ø5 x 20mm 2A/250V UL/VDE slow blow tube fuse
M8: ø5 x 20mm 3.15A/250V UL/VDE slow blow tube fuse
To access the fuse compartment, simply
unplug the power cable from the monitor,
place a flat-head screw driver in the small
notch and pry it open as illustrated.
7. Volume Control
This volume knob controls the MPower monitor's input
sensitivity. Typically, you would want to set this knob to the
maximum setting (+6dB), adjust the source's output level
and then use this volume knob to match the left and right
MPower monitors.
8. HF Adjustment
This high frequency adjustment is factory set at 0dB.
Simply adjust accordingly to your listening preference.
Specifications are subject to change without notice
Simply slide the selector to the
USE ONLY WITH AC 250V FUSE
7
