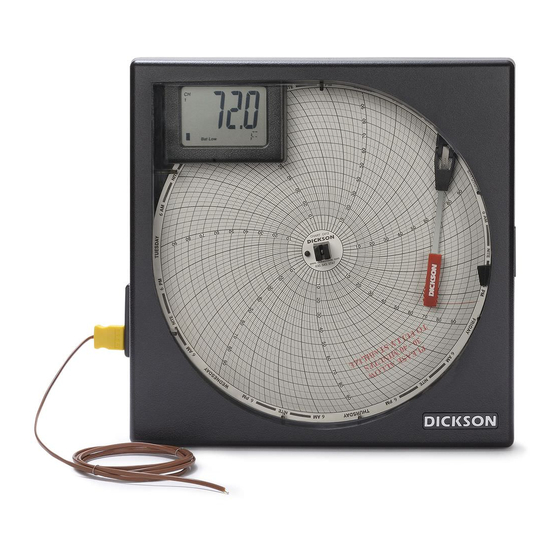
Dickson TH8P0 Manual
Navegue en línea o descargue pdf Manual para Instrumentos de medida Dickson TH8P0. Dickson TH8P0 8 páginas. Temperature & humidity chart recorder, 8” (203mm)
También para Dickson TH8P0: Manual del usuario (9 páginas)

Phone: 1-800-757-3747 or 1-630-543-3747 | Fax: 1-630-543-0498 | Email: [email protected] | Website:DicksonDate.com
8" (203mm) Temperature & Humidity Chart
Default Recorder Settings
This manual applies to: TH8P0, TH8P2, TH8P3 and TH8P5
7 day chart rotation
32°F - 120°F (TH8P0, TH8P2)
-20°F - 120°F (TH8P3, TH8P5)
Quick Start
1. Remove the protective pen caps.
2. Check to make sure the Replaceable Sensor is connected firmly to the recorder. If using model TH8P3/5 make sure the
extension cord is connected firmly to the recorder and that the Replaceable Sensor is plugged in firmly to the extension
cable.
3. Insert batteries and plug in AC adapter (See Button Operations below).
• TH8P0: four (4) AA batteries required;
• TH8P2/3/5: four (4) AA batteries backup power only (See Power section for backup life). Unit will power on.
4. The instrument will move pens to the appropriate readings.
5. The blue pen has a longer pen arm and records humidity or dew point (depending on your dip switch selection. The red
pen has a shorter arm and records temperature. The pens are offset to allow the red pen to glide under the blue pen.
The blue pen indicates the correct time and the red pen precedes it by 3/16 of an inch.
6. Install the chart that matches the Dip Switch settings (See Dip Switch Setup below).
7. Press the PEN HOME key to move the pens to the outside of the chart. The pen is automatically raised off the chart.
8. Remove the old chart, place the new chart on the Chart Hub being certain that the edge of the chart slides under the
Chart Guide Clips located at the outside of the chart.
9. Set the appropriate time. There are two ways to adjust the chart and set the appropriate time:
Recorder
TH8
