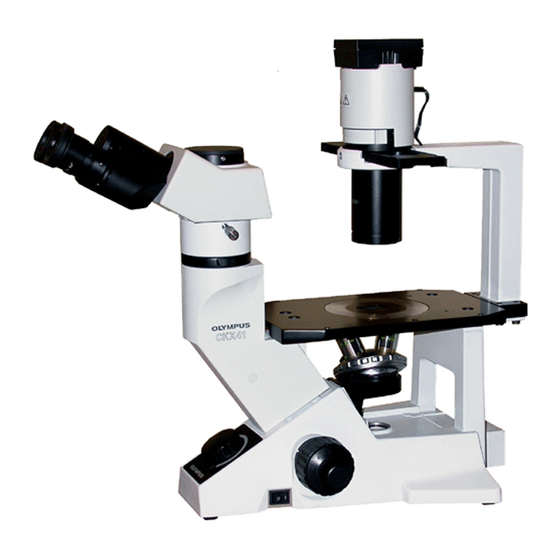
Olympus CKX41 Manual de reparación - Página 33
Navegue en línea o descargue pdf Manual de reparación para Equipos de laboratorio Olympus CKX41. Olympus CKX41 43 páginas. Reflected fluorescence system
También para Olympus CKX41: Visión general (7 páginas), Folleto y especificaciones (4 páginas), Manual de instrucciones (36 páginas)

CKX31/CKX41
2- 3 Parfocality adjustment for CKX31
Relay lens ass'y consists of three parts, lens frame-1(A), frame-2(B) and lens frame-3(C).
(For the composition of lenes, refer to the Fig.1 and Fig.2.)
Set the jigs to the microscope and check the parfocality. (Refer to D-5.)
Adjustment procedure:
(1) Remove the stage part, and take off the covers. (refer to the disassembly on C-1.)
(2) Remove the screws(*1) and remove the part of relay lens ass'y and BI tube.
Screw: AB3X14SA(*1), Washer: BNW3SA 4pcs. each
(3) Loosen the screw(*2) and turn the relay lens ass'y counterclockwise to remove it.
Screw: ACU3X6SA(*2) 1pc.
(4) Remove the lens frame-1 ass'y(A) and insert appropriate washer(selection).
(5) Assemble the parts in reverse order of disassembly.
(6) Set the jigs, focus on the reticle of KN0048 and the specimen in KN0041.
At this time, read the difference from the index on the helicoid scale.
Relay lens Ass'y
(B)
C)
Fig. 1
D. REPAIR PROCEDURE
BI tube
*2
(A)
(D)
Selection: washer
AE092300 ( t=1mm) Standard
AE092100 ( t=0.5mm)
AE092200 ( t=0.7mm)
AB129900 ( t=0.05mm)
AB130000 ( t=0.1mm)
AB130200 ( t=0.3mm)
Fig. 2
*1
For setting the jigs,
refer to D-5.
D-6
2
Scale
Standard:
+/- 0.3mm
(without 3 graduations)
*For adjustment amount,
refer to next page.
Washer insertion
screwed to BI tube
