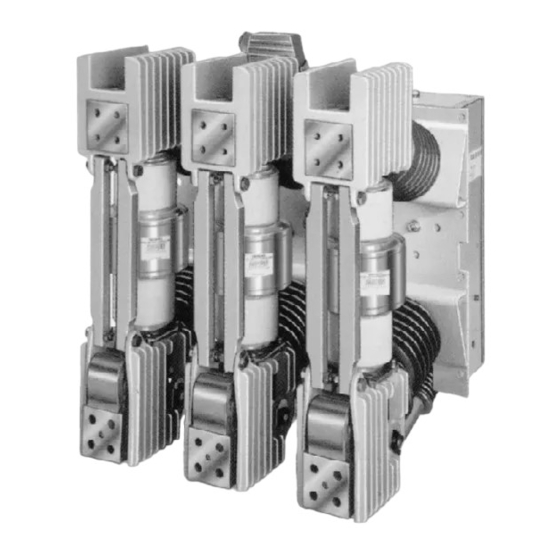
Siemens 3AH Manual de instrucciones - Página 30
Navegue en línea o descargue pdf Manual de instrucciones para Equipamiento industrial Siemens 3AH. Siemens 3AH 38 páginas. Vacuum circuit breaker operator module
También para Siemens 3AH: Instrucciones, instalación, funcionamiento, mantenimiento (33 páginas), Instalación Funcionamiento y mantenimiento (20 páginas)

Overhaul
1 .3 Withdraw pin (48.5) from insu lating coupler (48) a n d
levers (48.6) .
1.4 Remove coupling pin from the eye bolt (36.3)
1.5 Free struts (28) from the pole head (20). Loosen the
strut hardwa re on the pole bottom (40) and swing
the struts forward and downward.
1.6 Loosen screws fastening the centering ring (28.1 ).
1.7 Remove bolt (31.2), lockwasher and l a rge washer at
stationary contact of the vacu u m interrupter.
1.8 Using a deep socket, loosen a n d remove hex cap
screw fastening the pole head to the post insulator.
Completely remove the pole head a n d set aside.
1.9 Grasp the vacuum interrupter (30) and withdraw
vertical ly. Assistance may be requ i red to work the
terminal clamp off the movable stem of the vacuum
interrupter. FORCIBLE TWIS T ING EFFOR T IS NO T
ALLOWED. If the terminal clamp (29.2) cannot be
easily rem oved, S TOP! , check to be certain hard
ware is loose, and that the term i n a l clamp (29.2) is
not binding.
Figure 20. Technique forTightening Vacuum l nterrupterTerminal Clamp Hardware
P osition of Torque Wrench to Avoid Undue Stressing
of
Moving Contact
Terminal Oamp
29.2
P
=
2. I n stalling a Vacuum Interrupter
NO T E: Replacement vacuum interrupter (30) will be re
ceived from the factory with an eyebolt (36.3) in place,
adjusted and torq ued to specific requ irements.
DO NO T AL T ERT HE ADAPT ER SETTING.
2.1 I nspect all silver plated connection surfaces for clean
liness. Clean only with a cloth and solvent.
Do not abra i d .
2.2 I n s e rt vacuum interrupter (30) into the lower pole
support (40). Slip terminal clamp (29.2) into posi
tion on the movable stem.
2.3 Align vacuum interrupter a n d fasten "finger tight"
using heavy flat washer, lock washer and bolt, (31.2).
3 6. 1
Vac uu m I nterr u pter
T orque Wrenc h
Direction
Of
Fon:: e
30
30
