Siemens Simatic S7-300 Primeros pasos - Página 7

Navegue en línea o descargue pdf Primeros pasos para Equipamiento industrial Siemens Simatic S7-300. Siemens Simatic S7-300 8 páginas. Automation systems, controlling a physical axis
También para Siemens Simatic S7-300: Manual del usuario (34 páginas), Manual (21 páginas), Instrucciones de uso (4 páginas), Instrucciones de uso (5 páginas), Manual (35 páginas), Primeros pasos (16 páginas), Descripción de la aplicación (24 páginas), Manual (18 páginas), Manual (32 páginas), Manual de instalación y hardware (20 páginas), Primeros pasos (32 páginas)
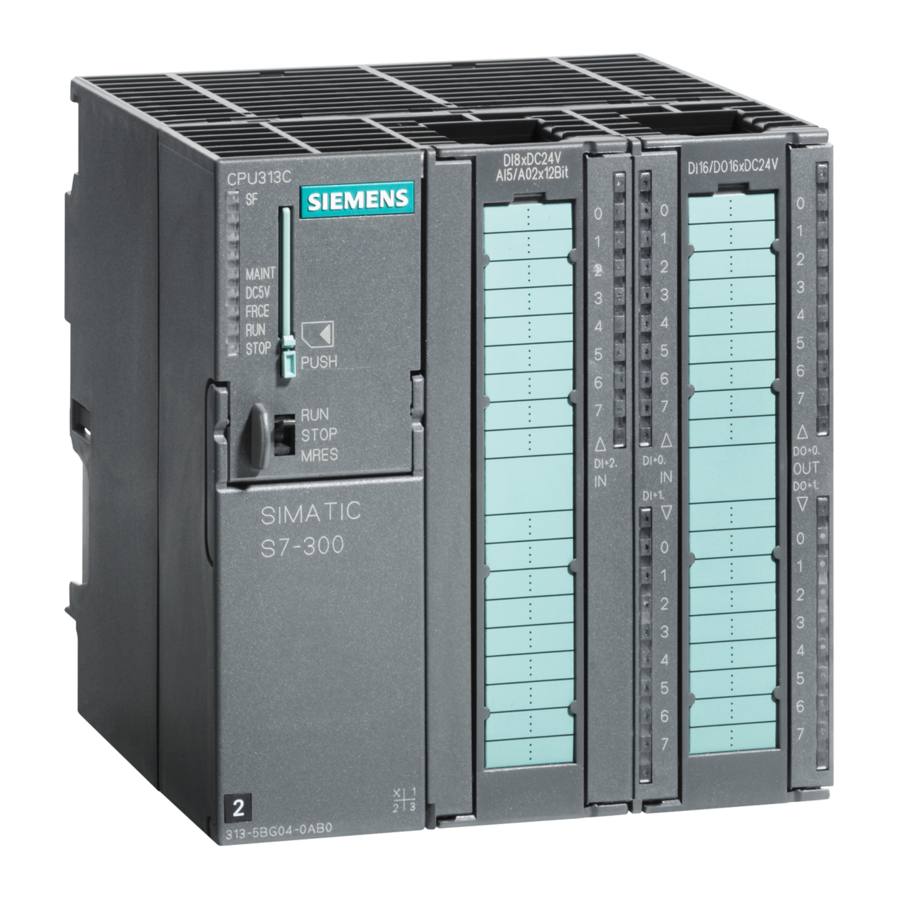
Siemens Simatic S7-300 Primeros pasos

Step 5: Configuring the Hardware

Stage
1
In SIMATIC Manager, click SIMATIC 300 Station in the
left-hand part of the window.
2
Double-click the Hardware button in the right-hand part
of the window.
3
If a catalog is not displayed in the right-hand part of
the window, activate the catalog by choosing the
Catalog command from the View menu.
Navigate to DI-300 via SIMATIC 300 and SM-300.
Insert the SM 321DI16xDC24V whose order num-
ber corresponds to the order number on your DI by
dragging and dropping it on slot 4 (the upper or
lower left-hand window).
Note:
You can find out the order number if you click a DI in
the catalog. The order number of this DI then appears
in the text box under the catalog.
Navigate to DO-300 .
4
5
Insert the SM 322 DO16xDC24V/0.5A whose order
number corresponds to the order number on your DO
by dragging and dropping it on slot 5.
6
Check that the order number displayed for slot 2 in the
lower left-hand part of the window corresponds to the
order number on your CPU.
If necessary, widen the order number column to dis-
play the whole order number.
7
From the Station menu, choose the Save and Compile
command.
8
Close the editor.
S7-300 Programmable Controller, Getting Started, First Steps for Installation and Commissioning
A5E00069340 01 // 04/2000
Procedure
Result
The buttons Hardware and CPU 314(1) appear
in the right-hand part of the window.
The hardware configuration editor opens.
A list containing different DOs appears.
The module appears on slot 5.
If yes: Continue from stage 7.
If not: Navigate in the catalog via CPU 300 to
CPU 314 and replace the CPU on slot 2 with the
CPU with the correct order number from the ca-
talog by dragging and dropping it.
The hardware configuration is compiled and sa-
ved.
The editor is closed.
7