Siemens SIPART PS2 Manual de instalación del hardware - Página 15

Navegue en línea o descargue pdf Manual de instalación del hardware para Equipamiento industrial Siemens SIPART PS2. Siemens SIPART PS2 30 páginas. Mounting bracket kit
También para Siemens SIPART PS2: Instrucciones de instalación (4 páginas), Manual de instrucciones (28 páginas), Instrucciones de instalación (4 páginas), Descripción técnica (26 páginas), Instrucciones de uso Compact (35 páginas), Instrucciones de instalación del kit (9 páginas), Instrucciones de instalación (11 páginas)
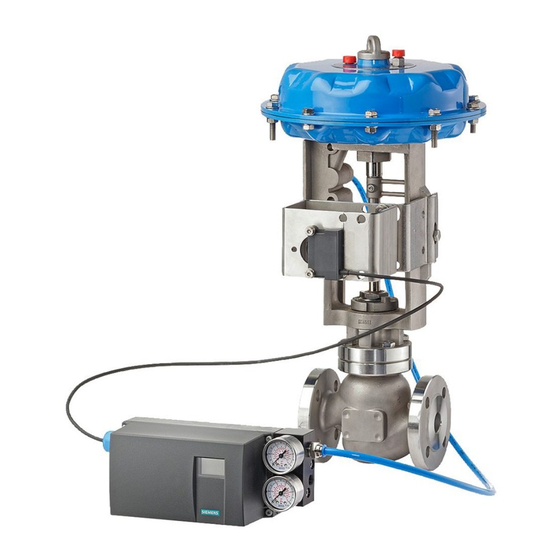
Siemens SIPART PS2 Manual de instalación del hardware
3.1.2

Unsuitable Compressed Air

NOTICE
Caution
Use of process fluids other than instrument air is not recommended. No claim is made as to
the suitability of this product for use with other process fluids.
3.1.3

Prior to working on the control valve

Please note the following before working on the control valve and when attaching the
positioner
Danger of injury.
• Prior to working on the control valve, you must move the control valve into a completely
• Make sure that the valve has reached the unpressurized state.
• If you interrupt the pneumatic auxiliary power to the positioner, the unpressurized
• When mounting, observe the following sequence imperatively to avoid injuries or
Mechanical impact energy
In order to ensure the degree of protection of the housing (IP66), protect the housing
versions of the positioners listed here from mechanical impact energy:
• 6DR5..3; not greater than 2 Joule
• 6DR5..0; not greater than 1 Joule
• 6DR5..1 with inspection window; not greater than 1 Joule
Venting Gauge Block Installation Instructions
Hardware Installation Manual, 12/2014, A5E34388399-AD
CAUTION
unpressurized. Proceed as follows:
– Depressurize the actuator chambers.
– Switch off the supply air PZ.
– Lock the valve in its position.
position may only be reached after a certain waiting time.
mechanical damage to the positioner/mounting kit:
– Mount the positioner mechanically.
– Connect the electrical auxiliary power supply.
– Connect the pneumatic auxiliary power supply.
– Commission the positioner.
WARNING
Installing/mounting
3.1 Basic Safety Instructions
13