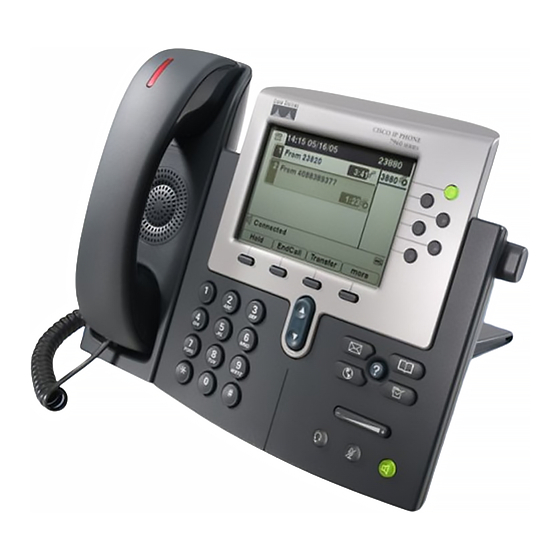
Cisco Unified 7900 Series Manual del usuario - Página 11
Navegue en línea o descargue pdf Manual del usuario para Teléfono IP Cisco Unified 7900 Series. Cisco Unified 7900 Series 11 páginas. Release notes for firmware release 9.3(1)sr2
También para Cisco Unified 7900 Series: Manual del sistema (50 páginas), Manual de soluciones (10 páginas), Manual del sistema (36 páginas), Notas de publicación (20 páginas)

1. Choose User Options > Personal Address Book.
2. Click Add New.
3. Enter information for the entry.
4. Click Save.
Search for a PAB entry :
1. Choose User Options > Personal Address Book.
2. Specify search information and click Find.
Edit a PAB entry
1. Search for a PAB entry.
2. Click a name or nickname.
3. Edit the entry as needed and click Save.
Delete a PAB entry :
1. Search for a PAB entry.
2. Select one or more entries.
3. Click Delete Selected.
Configuring Fast Dials on the Web
***available beginning on 8/3
This section describes how to assign Fast Dials from your User
Options web pages.
Tips
• You can create up to 500 Fast Dial and PAB entries.
• You can create a new Fast Dial entry without using a PAB
entry. Such Fast Dial entries are labeled
"raw" in the User Options web pages and do not display a
configurable text label.
Go to your browser and type:
http://support.rollins.edu/phone
Enter Your User Name/ID: example; jsmith
Enter Your password: last six digits of your R-
number
Cisco 7900 SeriesTelephones
Rollins College User Guide
If you want to...
Assign a Fast Dial code to a PAB entry
1. Create a PAB entry.
2. Choose User Options > Fast Dials.
3. Click Add New.
4. Use the Search Options area to find the appropriate PAB
entry.
5. Click a phone number in the Search Results area.
6. Change the Fast Dial code, if desired.
7. Click Save.
Assign a Fast Dial code to a phone number (without using a
PAB entry)
1. Choose User Options > Fast Dials.
2. Click Add New.
3. Change the Fast Dial code, if desired.
4. Enter a phone number.
5. Click Save.
Search for a Fast Dial entry
1. Choose User Options > Fast Dials.
2. Specify search information and click Find.
Edit a Fast Dial phone number
1. Choose User Options > Fast Dials.
2. Search for the Fast Dial entry that you want to edit.
3. Click on a component of the entry.
4. Change the phone number.
5. Click Save.
Delete a Fast Dial entry
1. Search for a Fast Dial.
2. Select one or more entries.
3. Click Delete Selected
Page 11 of 11
