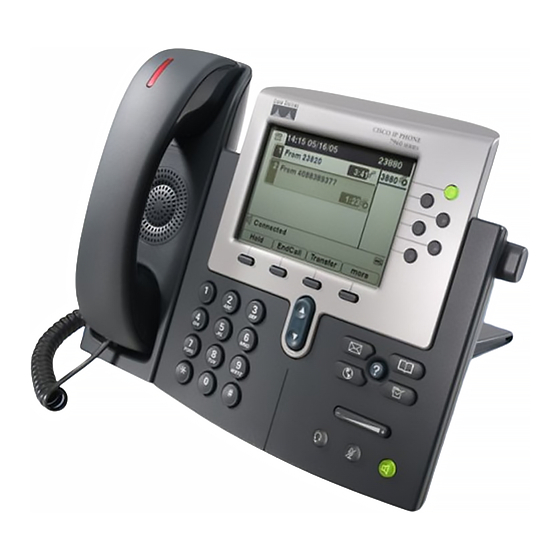
Cisco Unified 7900 Series Manual do utilizador - Página 11
Procurar online ou descarregar pdf Manual do utilizador para Telefone IP Cisco Unified 7900 Series. Cisco Unified 7900 Series 11 páginas. Release notes for firmware release 9.3(1)sr2
Também para Cisco Unified 7900 Series: Manual do sistema (50 páginas), Manual de soluções (10 páginas), Manual do sistema (36 páginas), Notas de lançamento (20 páginas)

1. Choose User Options > Personal Address Book.
2. Click Add New.
3. Enter information for the entry.
4. Click Save.
Search for a PAB entry :
1. Choose User Options > Personal Address Book.
2. Specify search information and click Find.
Edit a PAB entry
1. Search for a PAB entry.
2. Click a name or nickname.
3. Edit the entry as needed and click Save.
Delete a PAB entry :
1. Search for a PAB entry.
2. Select one or more entries.
3. Click Delete Selected.
Configuring Fast Dials on the Web
***available beginning on 8/3
This section describes how to assign Fast Dials from your User
Options web pages.
Tips
• You can create up to 500 Fast Dial and PAB entries.
• You can create a new Fast Dial entry without using a PAB
entry. Such Fast Dial entries are labeled
"raw" in the User Options web pages and do not display a
configurable text label.
Go to your browser and type:
http://support.rollins.edu/phone
Enter Your User Name/ID: example; jsmith
Enter Your password: last six digits of your R-
number
Cisco 7900 SeriesTelephones
Rollins College User Guide
If you want to...
Assign a Fast Dial code to a PAB entry
1. Create a PAB entry.
2. Choose User Options > Fast Dials.
3. Click Add New.
4. Use the Search Options area to find the appropriate PAB
entry.
5. Click a phone number in the Search Results area.
6. Change the Fast Dial code, if desired.
7. Click Save.
Assign a Fast Dial code to a phone number (without using a
PAB entry)
1. Choose User Options > Fast Dials.
2. Click Add New.
3. Change the Fast Dial code, if desired.
4. Enter a phone number.
5. Click Save.
Search for a Fast Dial entry
1. Choose User Options > Fast Dials.
2. Specify search information and click Find.
Edit a Fast Dial phone number
1. Choose User Options > Fast Dials.
2. Search for the Fast Dial entry that you want to edit.
3. Click on a component of the entry.
4. Change the phone number.
5. Click Save.
Delete a Fast Dial entry
1. Search for a Fast Dial.
2. Select one or more entries.
3. Click Delete Selected
Page 11 of 11
