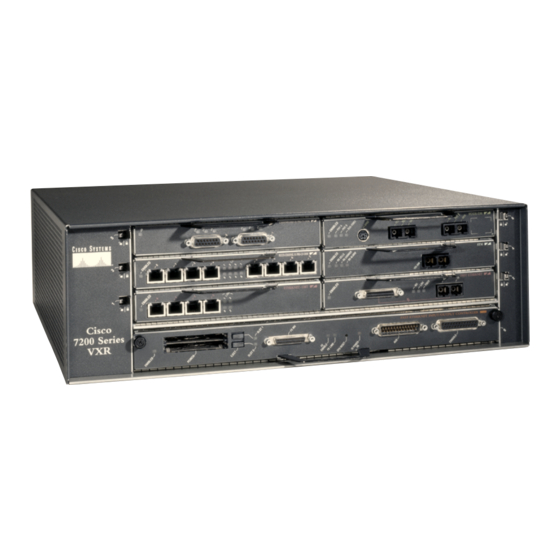
Cisco 7200 VXR Series Manual de inicio rápido - Página 14
Navegue en línea o descargue pdf Manual de inicio rápido para Punto de acceso inalámbrico Cisco 7200 VXR Series. Cisco 7200 VXR Series 48 páginas. Preparing for installation
También para Cisco 7200 VXR Series: Ficha de datos (12 páginas), Manual (14 páginas)

Figure 8
Attaching the Rack-Mount Brackets to the Rear of the Chassis—Front Recessed
2
1
4
1
Rack-mount bracket
2
M4 x 8-mm Phillips flathead screws
Brackets Rear-Mounted—Front Recessed in the Rack
Step 1
Locate the threaded screw holes in the rear sides of the chassis.
Step 2
Align a rack-mount bracket (1) to the threaded holes in the right side of the chassis.
Step 3
Using a Number 2 Phillips screwdriver and two M4 x 8-mm Phillips flathead screws (2), attach the rack-mount bracket
to the router.
Step 4
Repeat Step 2 and Step 3 for the bracket on the other side of the router. If you are not installing cable-management
brackets, skip to the "Two-Post or Four-Post Rack Installation" section on page 16 for rack-mount instructions.
Otherwise continue with Step 5.
Step 5
Align a cable-management bracket (3) to the threaded holes in the front of the chassis.
Step 6
Using two M4 x 8-mm Phillips flathead screws (4), thread and tighten the screws through the cable-management
bracket and into the chassis.
Step 7
Repeat Step 5 and Step 6 on the other side of the router.
If you have an NPE-G1 or NPE-G2 installed, go to the "NPE-G1 or NPE-G2 Rear Cable-Management Brackets on a
Rear-Mounted Router" section on page 15, or the "NPE-G1 or NPE-G2 Optical Cable-Management Bracket" section on
page 16.
If you do not have an NPE-G1 installed, go to the "Two-Post or Four-Post Rack Installation" section on page 16.
14
Cisco 7200
Series
3
TOKEN RING
ETHERNET 10BT
ETHERNET-10BFL
FAST ETHERNET INPUT/OUTPUT CONTROLLER
3
Cable-management bracket
4
M4 x 8-mm Phillips flathead screws
