Cisco 7841 Utilizando - Página 3

Navegue en línea o descargue pdf Utilizando para Sistema de conferencias Cisco 7841. Cisco 7841 4 páginas. Classroom phone
También para Cisco 7841: Notas de publicación (16 páginas), Manual de inicio rápido (2 páginas), Manual de consulta rápida (4 páginas), Referencia rápida (4 páginas), Instalación rápida y manual del usuario (12 páginas), Manual de referencia (11 páginas), Manual de consulta rápida (7 páginas), Manual de consulta rápida (7 páginas), Manual del usuario (2 páginas), Manual de consulta rápida (2 páginas), Manual de consulta rápida (2 páginas), Manual (2 páginas), Manual (27 páginas), Manual maestro de migración de firmware (31 páginas), Manual (43 páginas), Manual de consulta rápida (4 páginas), Manual de inicio rápido (2 páginas), Manual de instalación (39 páginas), Manual rápido del usuario (2 páginas), Manual (7 páginas), Manual (20 páginas), Características Manual (4 páginas), Manual de reconfiguración (2 páginas), Manual de referencia del usuario (5 páginas), Tarjeta de referencia rápida (2 páginas), Manual de instalación rápida (12 páginas), Manual de inicio rápido (2 páginas), Manual rápido (3 páginas), Tarjeta de referencia rápida (2 páginas), Tarjeta de referencia rápida (2 páginas), Manual de inicio rápido (2 páginas), Manual de consulta rápida (3 páginas)
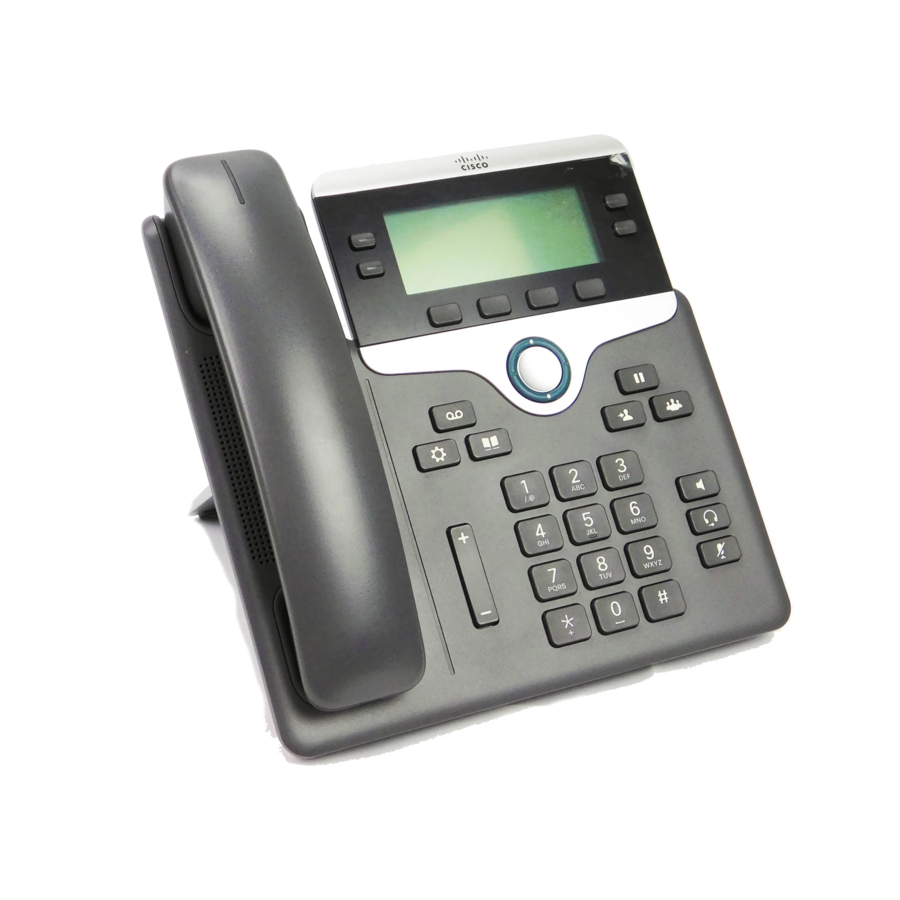
Cisco 7841 Utilizando
1. Press the Directory
2. Press 2 to select Corporate Directory.
3. Use the keypad to spell the first few letters of the first name or press the
down arrow on the Navigation Cluster and Select button to select Last
Name: and spell the first few letters of the last name.
Press each key on the keypad repeatedly until the correct letter is selected.
Press the Backspace
softkey to erase characters to the left.
4. Press the Search softkey.
5. Use the Navigation Cluster and Select button to highlight the listing and
press the Dial softkey.
Press the
Directory
button
Dial from the Directory While on a Connected Call
Complete steps 1 through 5 above.
1.
2.
The first caller is automatically placed on hold.
Press the flashing green Line
3.
on hold) to resume the first call or use the Navigation Cluster and Select
button and press the Resume softkey.
1. Press the Applications
press the Recents softkey.
Recents initially displays All calls.
2. If multiple lines exist, select All Lines or the required line.
3. Press the Missed Calls softkey to display only Missed Calls.
The icons enable you to determine if calls were placed or received.
3. Use the Navigation Cluster and Select button to select the call and press
the Call softkey.
If the call is from an external party, press the ... (more) softkey followed by
the EditDial softkey and type any required prefixes such as 9 and/or 1.
Clear Call History
1. Press the Applications
2. Press the
...
(more) softkey.
3. Press the Clear softkey then press the Delete softkey.
4. Press the Applications
screen.
Delete a Call from Call History
1. Press the Applications
2. If multiple lines exist, select All Lines or the required line.
3. Use the Navigation Cluster and Select button to select the call.
4. Press the
... (more)
softkey twice and press the Delete softkey.
5. Press the Delete softkey again to confirm.
6. Press the Applications
screen.
Using Your Cisco IP Phone 7841
button.
to the main phone screen.
button (representing the call that is
button and press 1 to select Recents or
button and press 1 to select Recents.
button to return to the main phone
button and press 1 to select Recents.
button to return to the main phone
1. During a connected call, press the
softkey. The call is placed on hold on a call park extension.
Call Park extensions are 17060 – 17099.
2. Make note of the call park extension that displays next to the blinking line
button.
This number is required to retrieve the parked call from another phone.
If the parked call is not retrieved within a specific time period (determined by
your system administrator) the call rings back to the extension that parked it.
Retrieve a Parked Call
1. On any phone, go off hook using the handset, speakerphone, or headset.
2. Enter the call park extension into the keypad.
If the parked call is not retrieved within a specific time period (determined by
your system administrator) the call rings back to the extension that parked it.
The handset light strip is solid red when you have new voice mail.
Listen to Messages
1.
Press the Messages
2. Enter your voice mail password 13579 and follow the prompts.
Personalize Your Voice Mail
1.
Press the Messages
2. Enter your voice mail password and follow the prompts.
Check Voice Mail From Another Extension
1. Press the Messages
2. Enter your extension (user id).
3. Enter your password and follow the prompts.
Check Voice Mail From an External Phone
1. Call (216) 957-8900 from any phone.
2. Enter your extension (user id).
3. Enter your password and follow the prompts.
Send a Ringing Call Directly to Your Voice Mail
1. Press the Decline softkey.
The call is transferred to your voice mail. If you are on a connected call, use
the Navigation Cluster and Select button to select the inbound call and then
press the Divert softkey.
Forward All Calls to Your Voice Mail
1. Press the Fwd All softkey followed by the Messages
The phone screen will say "To Voicemail."
2. Press the Fwd Off softkey to cancel call forwarding.
Transfer a Connected Call to Someone's Voice Mail
1. Press the Transfer
button followed by the
2. Enter the recipient's extension and press the Transfer softkey.
3
... (more)
softkey then press the Park
button.
button.
button followed by the * (star) key.
*
(star) key.
button.