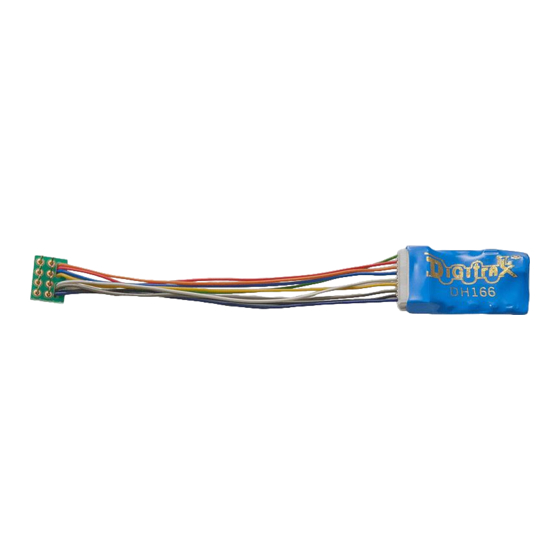
Digitrax DH166P Manual - Página 2
Navegue en línea o descargue pdf Manual para Media Converter Digitrax DH166P. Digitrax DH166P 8 páginas.

Parts List
1 DH166P Function Decoder
1 Instruction Sheet
1
DHWHP Digitrax Easy Connect 9 Pin to DCC Medium Plug 3.0" harness
Installation Information
See the Digitrax Decoder Manual for complete decoder test procedures, instal-
lation instructions, programming and technical information. Digitrax manuals
and instructions are updated periodically. Please visit www.digitrax.com for the
latest versions, technical updates and additional locomotive-specific installation
instructions. CAUTION: Programming and layout track must not exceed
16V when using this decoder.
Installation Instructions
1.
Carefully remove the locomotive shell.
(Figure 1) Note the orientation to
the frame for correct re-installation.
2.
Remove the jumper plug/s from
the locomotive's DCC ready socket.
(Figure 2) The jumper plugs allow
the loco to operate on a standard DC
track or in analog mode on a DCC
track.
3.
Insert the DCC plug end of the
harness into the socket. The pin with
the orange wire plugs into the hole
marked 1. (Figure 3) Seat the decod-
er firmly in the socket.
4.
Plug the 9 pin connector end of the
harness into the DH166P Decoder.
The plug is notched for proper orien-
tation of plug and socket.
5.
Outputs for F1 (Green) and F2
(Violet) can be wired to additional
functions if desired.
6.
Replace the loco shell on the frame.
The loco is now ready to run on your
DCC system using the factory set
address 03. See next page for cus-
tomizing some of the functions of the
DH166P decoder.
© 2014 Digitrax, Inc.
Figure 1: Remove loco shell
Figure 2: Carefully
remove jumper plug(s)
DCC medium plug
F2 (Violet)
Figure 3:
Carefully plug in decoder
— 2 —
Jumper plug
F1 (Green)
9 pin
connector
Decoder
www.digitrax.com
