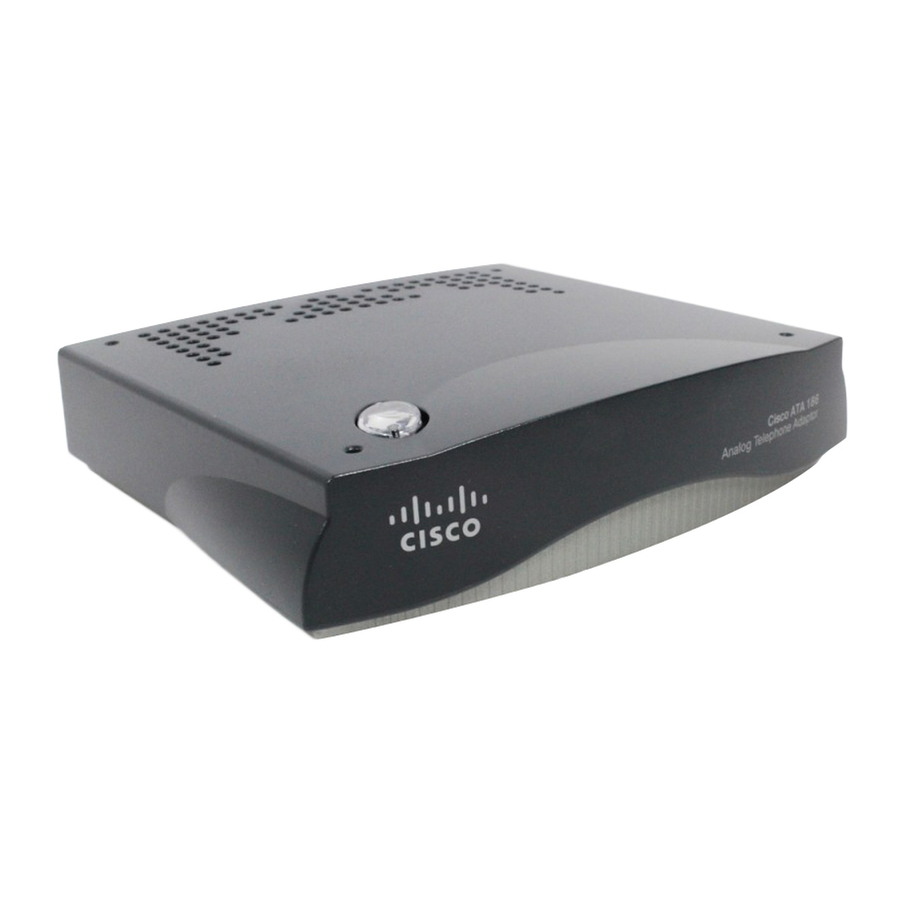
C
ATA
ONFIGURE THE
To configure your ATA to use DHCP:
1. Pick up the handset of the phone connected to the ATA, and then press the button on top of the
ATA. The system announces, "Configuration Menu. Enter menu number followed by the # key..."
2. Press 20# on the phone's keypad to access the DHCP menu. The system announces, "Enter value."
3. Press 1# to enable DHCP. The system announces, "You entered '1.' To change, press 1; to review,
press 2; to save, press 3; to review your saved value, press 4; or press the pound key (#) to exit."
4. Press 3 on the phone's keypad to save the settings. The system announces, "Value saved.
Configuration Menu..."
5. Place the phone's handset back on the phone to hang up. The light on top of the device will flash red
for a second.
Note: If the ATA continues to flash the red light for more than two minutes, it is not connected to a DHCP server.
Configure the ATA with a static IP address instead. Refer to the Static IP Configuration section on page 2.
6. To confirm the IP address assigned to the ATA, pick up the handset of the phone connected to the
ATA, and then press the button on top of the ATA. The system announces, "Configuration Menu.
Enter menu number followed by the # key..."
7. Press 80# on the phone's keypad to hear the IP address. When the system announces the ATA's IP
address, write it down.
Note: If the system announces the IP address as "0.0.0.0,"there could be two possible causes. The first possibility is
that the network to which the ATA is connected does not have a DHCP server. If this is the case, skip to the
Static IP Configuration section on page 2. The second possibility is that the DHCP server has been unable to
assign an IP address to the ATA. If that is the case, notify your network administrator of the problem.
8. Place the phone's handset back on the phone to hang up. To continue configuring the ATA for
CafeFone, skip to the Configuring Account and Network Settings section on page 4.
C
ATA
ONFIGURE THE
To configure the ATA with a static IP address:
1. Contact your Internet Service Provider (ISP) or IT Administrator, and obtain the following
information:
IP address
Default Gateway address
Subnet Mask address
Primary DNS Server address
Secondary DNS Server address (optional)
CafeFone Configuration Guide for the Cisco ATA186
U
DHCP
TO
SE
Note: To repeat the IP address announcement, press 80# again.
U
S
IP A
TO
SE
TATIC
Page 2
DDRESSING

