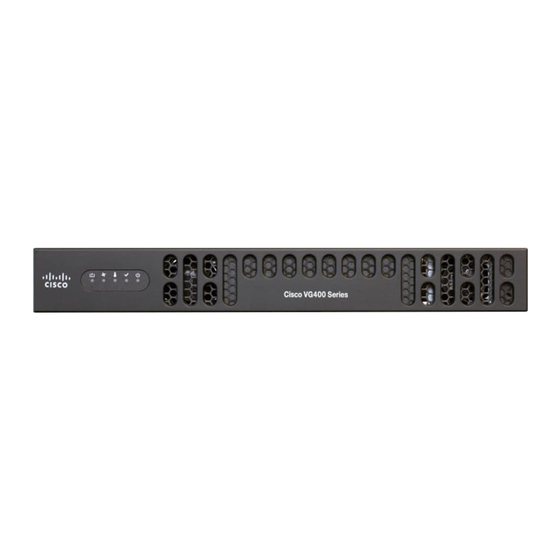
Cisco VG400 series Manual de instalación del hardware - Página 21
Navegue en línea o descargue pdf Manual de instalación del hardware para Pasarela Cisco VG400 series. Cisco VG400 series 40 páginas. Voice gateway
También para Cisco VG400 series: Manual de configuración del software (22 páginas), Instalación de (13 páginas)

- 1. Table of Contents
- 2. Location and Mounting Requirements
- 3. Temperature Control and Ventilation
- 4. Rack Requirements
- 5. Access to Chassis
- 6. Power Source and Supply
- 7. Network Cabling Considerations
- 8. Interference Considerations
- 9. Required Tools and Equipment for Installation
- 10. Site Log
- 11. Installation Checklist
Installing the Cisco VG400 Voice Gateway
Preventing Electrostatic Discharge Damage
Electrostatic discharge (ESD) can damage equipment and impair electrical circuitry. ESD occurs when
electronic components are improperly handled; it can result in complete or intermittent failures.
Always follow ESD-prevention procedures when removing and replacing components.
• Ensure that the chassis is electrically connected to earth ground.
• Wear an ESD-preventive wrist strap, ensuring that it makes good skin contact.
• Connect the clip to the ESD-strap connection jack (to the left of the power switch on the rear of the
Caution
For safety, periodically check the resistance value of the antistatic strap, which should be between 1 and 10
megohm (Mohm).
Unpacking and Inspection
Do not unpack the Cisco VG400 until you are ready to install it. If the installation site is not ready, keep the
chassis in its shipping container to prevent accidental damage.
The Cisco VG400, cables, printed publications, and any optional equipment you ordered might be shipped in
more than one container. When you unpack each shipping container, check the packing list to ensure that you
received all the following items:
• Cisco VG400 Voice Gateway
• Power cord, 6-foot (1.8-meter)
• RJ-45-to-DB-25 adapter cable (labeled Console)
• RJ-45-to-DB-9 adapter cable (labeled Auxiliary)
• Rack-mounting brackets for 19-inch rack (one pair) with screws for attaching to chassis
• Chassis guard for wall-mounting applications
• Grounding lug and fasteners
Inspect all the items for shipping damage. If anything appears damaged, or if you encounter problems when
installing or configuring your system, contaca customer service representative.
Install the Cisco VG400 Voice Gateway
Caution
To prevent damage to the chassis, never attempt to lift or tilt the chassis by holding it by the plastic panel on
the front. Always hold the chassis by the sides of the metal body.
You can install the Cisco VG400 Voice Gateway in one of the following ways:
Setting the Chassis on a Desktop
You can place the router on a desktop, bench top, or shelf.
chassis) or to an unpainted chassis frame surface.
Preventing Electrostatic Discharge Damage
Cisco VG400 Voice Gateway Hardware Installation Guide
19
