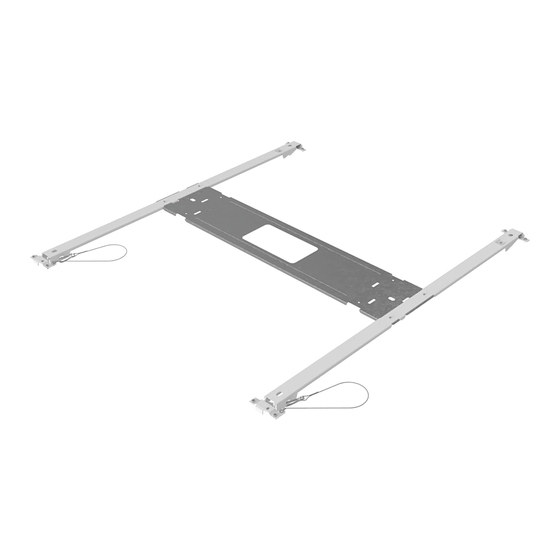
Acuity Brands CPANL DCMK 224 Manual de instrucciones de instalación - Página 3
Navegue en línea o descargue pdf Manual de instrucciones de instalación para Bastidores y soportes Acuity Brands CPANL DCMK 224. Acuity Brands CPANL DCMK 224 17 páginas. Surface mount kit

REQUIRED TOOLS:
A
B
ADDITIONAL SUPPLIES MAY BE NEEDED DEPENDING ON THE TYPE OF CEILING FIXTURE IS BEING MOUNTED TO:
Masonry Anchors and Screws
Wood Screws
INSTALLATION:
1
TURN OFF THE POWER AT BREAKER !
2
Assemble hanger side brackets to hanger center bracket –
Place hanger side brackets with the flat side down. Use locating tabs to orient side brackets.
Hanger center brackets will only sit flat on hanger side brackets in the correct orientation, see Figure 2A.
Use outer set of holes for 1x4 and 2x4 installations, use inner set of holes for 2x2 installations.
Use smooth headed screws (provided) to fasten center bracket to side hanger bracket, see Figure 2B.
Fully tighten and repeat on other side.
E
E
Figure 2A
12/8/2020 Rev C
C
D
E
D
2X4 / 1X4
2X2
C
CPANL SURFACE MOUNT KIT - INSTALLATION INSTRUCTIONS
INSTRUCTIONS D'INSTALLATION DE CPANL KIT DE MONTAGE EN SURFACE
INSTRUCCIONES DE INSTALACIÓN DE CPANL KIT DE MONTAJE EN SUPERFICIES
A
B
C
D
E
F
G
H
I
J
MOUNTING HINGES * (CPANL - ALO1 or AOL6 SWW7)
K
F
G
D
E
E
SUPPLIED HARDWARE KIT:
DESCRIPTION
TOGGLE NUTS
8-32 x 1" TOGGLE BOLT
HANGER CENTER BRACKET
HANGER SIDE BRACKETS
SMOOTH HEAD M3 BRACKET SCREWS
MOUNTING HINGES * (CPANL - 40/50/60LM _K)
LATCH * (CPANL - 40/50/60LM __K)
ROUND HEADED SCREWS
TETHER CABLE
LATCH * (CPANL - ALO1 or AOL6 SWW7)
H
I
J
Two-Person Installation
E (x4)
E
Figure 2B
QTY
4
4
1
2
4 + 1 spare
2
2
10 + 2 spare
2
2
2
K
Page 2 of 16
