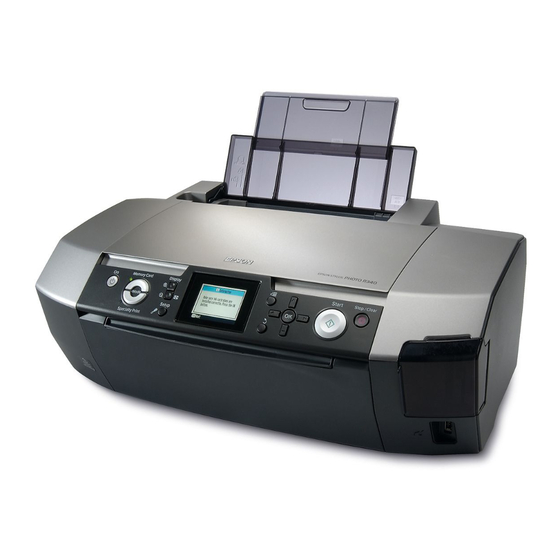
Epson R340 - Stylus Photo Color Inkjet Printer Manual de funcionamiento básico - Página 16
Navegue en línea o descargue pdf Manual de funcionamiento básico para Accesorios para impresoras Epson R340 - Stylus Photo Color Inkjet Printer. Epson R340 - Stylus Photo Color Inkjet Printer 40 páginas. C11c607011
También para Epson R340 - Stylus Photo Color Inkjet Printer: Especificaciones (2 páginas), Manual (13 páginas), Manual Start Here (9 páginas), Referencia rápida (4 páginas), Manual de instrucciones (4 páginas)

Printing a CD Jacket
You can print a CD jacket on A4 paper in either upper
half print format or in index style in Memory Card
mode. You can print up to 24 photos on one sheet.
1.
Load A4 size paper.
2.
Press the
Memory Card button.
3.
Press the l or r button to select View and Print
Photos, then press the OK button.
4.
Press the
Print Setting button.
5.
Select the appropriate Paper Type setting for the
paper loaded.
6.
Select A4 as the Paper Size setting.
7.
Select Jewel Case Upper 1/2 or Jewel Case
Index and press the OK button.
8.
Press the l or r button to select the photos you
want to print for your print layout.
9.
Press the u or d button to select the number of
copies for each photo.
10. Press the x Start button to print.
Printing with Frames
You can decorate your photo by printing it with a
frame! In this mode, the photo is printed borderless.
As well as the preset frames, you can add frames from
the memory card by using PIF DESIGNER and EPSON
PRINT Image Framer Tool software contained in the
software CD-ROM. For details on using the software,
see the on-screen User's Guide.
1.
Insert the memory card containing digital photo
data and PRINT Image Framer data (P.I.F. Frame)
into the memory card slot.
Note:
❏ If you have saved or deleted data on the memory card via
your computer and have not ejected the memory card from
the printer since, eject and reinsert the memory card before
printing.
❏ Be sure to save the PRINT Image Framer data to the
memory card using the EPSON PRINT Image Framer Tool;
otherwise the P.I.F. file name will not appear on the LCD
panel.
Specialty Print button.
2.
Press the
16
Other Creative Printing Options
3.
Press the l or r button to select P.I.F. Print, then
press the OK button.
4.
Press the r button to select the P.I.F. Frame you
want to use, then press the OK button.
Note:
The available paper sizes to print with the selected P.I.F. Frame
appear at the bottom left of the panel.
5.
Press the l or r button to select the photo you
want to print, and then press the OK button.
6.
Press the u or d button to select the number of
copies for each photo.
7.
Confirm the layout and number of prints on the
LCD panel.
8.
Load appropriate paper.
9.
Press the x Start button to print.
Printing on Stickers
You can print up to 16 stickers on one Photo Stickers
paper.
Note:
You can also print on Stickers in Memory Card mode by choosing
Photo Stickers as the Paper Type.
1.
Load EPSON Photo Stickers paper.
2.
Press the
Specialty Print button.
