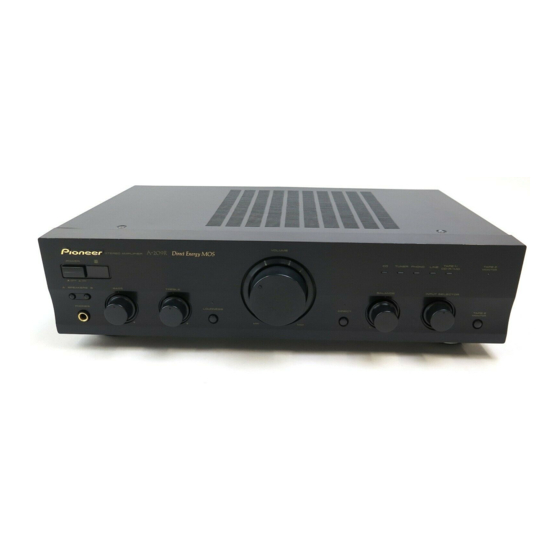
Pioneer A-209 Manual de instrucciones - Página 5
Navegue en línea o descargue pdf Manual de instrucciones para Receptor Pioneer A-209. Pioneer A-209 32 páginas. Stereo amplifier
También para Pioneer A-209: Catálogo (10 páginas), Manual de servicio (35 páginas)

CONNECTING THE SPEAKER CORDS
1. Strip off the vinyl covering and twist the tip of the
wire core.
10mm
Twist the wire core
2. Loosen the knob and insert the wire core into the
terminal hole.
3. Tighten the knob to fix the wire core in place.
2
\
1
NOTE:
Do not allow any of the cord conductors to protrude from the
terminals or touch any other conductors. Malfunctioning or
breakdowns may occur when conductors come into contact
with each other.
Speaker Impedance
[A-209]
When speaker systems are connected to only SPEAKERS A
or SPEAKERS B terminals, such speakers should have rated
impedance in the range of 4–16 Ω.
When speaker are connected to both A and B terminals, they
should have a rated impedance in the range of 8 –32 Ω.
[A-109]
The speaker systems used should have a rated impedance in
the range of 6 - 16 Ω.
CONNECTING THE INPUT/OUTPUT
CORDS
Connect the white plug to the L (left) channel, and the red plug
to the R (right) channel. Be sure to push the plugs securely.
White plug
3
AC POWER CORD
Plug in the power cord first to the amplifier and then to the
wall outlet after you have finished hooking up the rest of your
equipment.
CAUTION!
• Do not use any other power cord than the one supplied
with this unit.
• The amplifier should be disconnected by removing the
mains plug from the wall socket when not in regular use,
e.g. when on vacation.
Please use the correct cord and plug for your region.
For regions with two pin flat-bladed plug and 200 volts or
greater power supply
For Taiwan exclusively
CONNECTIONS
Left channel
L
Right channel
R
Red plug
European two pin plug
with two pin flat-bladed
converter plug (for 200
volts or greater power
supply)
Taiwanese two pin flat-bladed
plug
Make sure the voltage selector
has been switched to the 110 V
position before plugging in the
AC power cord.
5
