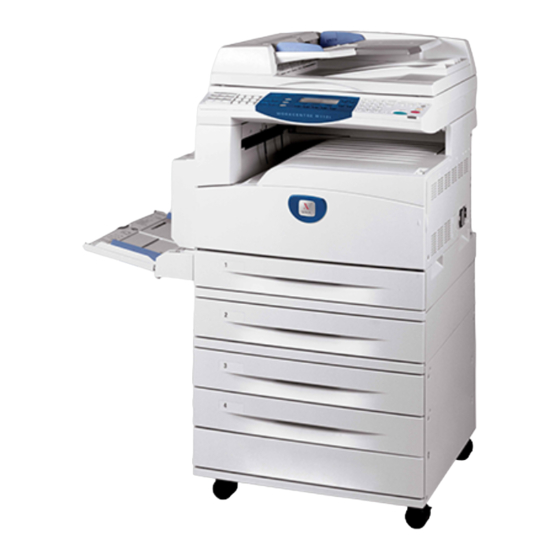
Xerox WorkCentre M118 Instrucciones de remanufacturación - Página 7
Navegue en línea o descargue pdf Instrucciones de remanufacturación para Impresora Xerox WorkCentre M118. Xerox WorkCentre M118 14 páginas. Drum cartridge remanufacturing
También para Xerox WorkCentre M118: Manual del usuario (2 páginas), Manual del módulo (2 páginas), Tarjeta de instalación rápida (2 páginas), Manual de software (47 páginas), Manual de configuración rápida (5 páginas), Manual de configuración rápida (5 páginas), Manual (28 páginas), Manual de instalación del soporte (4 páginas), Manual de instalación (2 páginas), Manual de instalación (2 páginas), Manual de instalación (2 páginas), Manual de instalación (2 páginas), Manual de instalación (2 páginas), Manual de instalación (1 páginas), Manual de instalación (1 páginas), Manual de introducción (25 páginas), Manual del evaluador (12 páginas), Manual de servicio (12 páginas)

