Alecto DBX-77 Manual de instrucciones - Página 2
Navegue en línea o descargue pdf Manual de instrucciones para Vigilabebés Alecto DBX-77. Alecto DBX-77 8 páginas.

INTRODUCTION
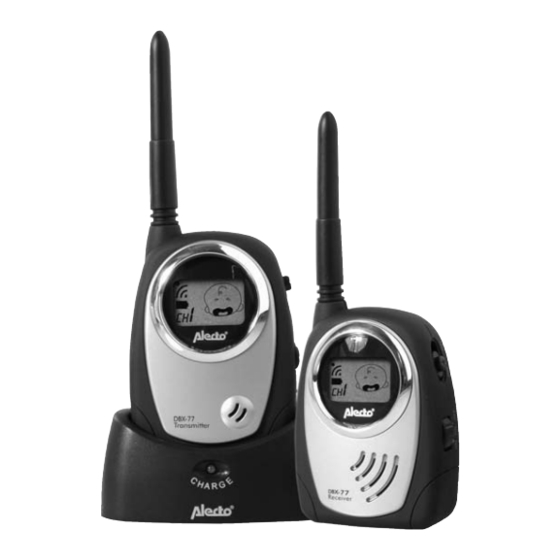
Thank you for purchasing our DBX-77 baby monitor. Your unit has been
manufactured and checked under the strictest possible quality control to ensure
that each monitor leaves the factory in perfect condition. If in the unlikely
event you find any defects or have any problem, please contact your dealer,
our branch or service center.
Please read this manual carefully to obtain maximum performance & extended
service life from the unit.
FEATURES
- 16 selectable digital codes provide high degree of immunity from interference.
- Selectable two channels with crystal clear operation.
- Audio and visual alert for out-of-range and low battery warning on receiver.
- Adjustable sensitivity for microphone on transmitter.
- Automatic back-lighted LCD for easy viewing.
- Moving graphics on LCD to alert parent when baby cries.
WARNING
The DBX-77 baby monitor should not be regarded as a medical device.
Premature babies or those considered to be at risk should be under the
supervision of your doctor or health professional.
Direct supervision of your baby at a regular interval by a responsible adult is
strongly recommended in addition to using the DBX-77.
The Alecto DBX-77 complies with the essential requirements and provisions as
described in the European Directive 1999/5/EC. The DBX-77 is allowed for
usage in: The Netherlands, Belgium, Luxembourg, Spain,
Switzerland, Austria and Germany. The declaration of
conformity can be found on the website www.alecto.info
SETTING OF DIGITAL CODES
Slide open the battery cover after unlocking the lever, with the
help of a pointed object, select one of the sixteen settings of the
four dip switches, make sure the setting and number sequence
are the same in both transmitter and receiver.
N.B. In case you still find interference in actual operation, either change to
another channel or change the settings of the four dip switches to a new
combination. Always make sure to keep the same setting in both transmitter and
receiver.
2
