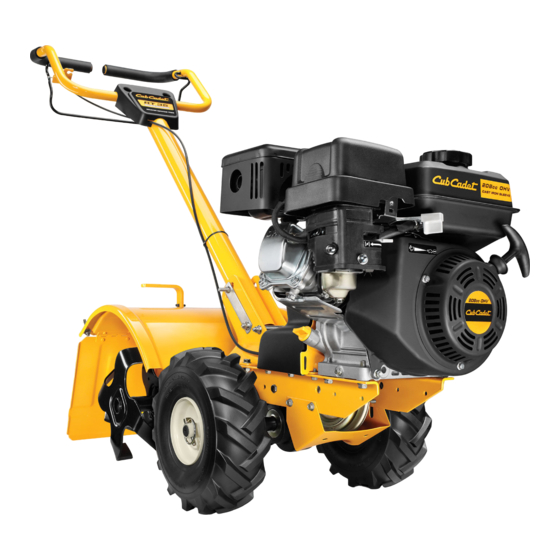
Cub Cadet RT 35 Rear-Tine Garden Tiller Manual del usuario - Página 10
Navegue en línea o descargue pdf Manual del usuario para Cultivador Cub Cadet RT 35 Rear-Tine Garden Tiller. Cub Cadet RT 35 Rear-Tine Garden Tiller 16 páginas. Rear tine tiller
También para Cub Cadet RT 35 Rear-Tine Garden Tiller: Folleto y especificaciones (2 páginas), Garantía limitada (1 páginas)

Service
WARNING! Before inspecting,
cleaning or servicing the machine, shut
off the engine, wait for all moving
parts to come to a complete stop,
disconnect the spark plug wire and
move the wire away from the spark
plug. Failure to follow these
instructions can result in serious
personal injury or property damage.
Maintenance
Engine
Refer to the Engine Operator's Manual for all engine
maintenance.
Tire Pressure
Check the air pressure in both tires. The air pressure
should be between 15-20 PSI. Keep both tires equally
inflated to help prevent machine from pulling to one
side.
Hardware
Check for loose or missing hardware after every 10
operating hours and tighten or replace — as needed —
before reusing the tiller
Be sure to check the screws underneath the tiller
hood that secure the transmission cover and the
Depth Regulator Lever to the transmission.
Transmission Gear Oil
Check the transmission gear oil after every 30 hours
of operation or whenever you notice any oil leak.
Operating the tiller when the transmission is low on
oil can result in severe damage.
To Check the Transmission Gear Oil Level:
1.
Check the gear oil level when the transmission
is cool. Gear oil will expand in warm operating
temperatures and this expansion will provide
an incorrect oil level reading.
2.
With the tiller on level ground, pull the Depth
Regulator Lever all the way up.
3.
Remove the oil fill plug from the transmission
housing and look inside the oil fill hole to
locate the main drive shaft situated below the
hole. See Figure 5-1.
Figure 5-1
4.
The gear oil level is correct if the gear oil is
approximately halfway up the side of the main
drive shaft.
10
5.
If the gear oil level is low, add gear oil as
described next. If the gear oil level is okay,
securely replace the oil fill plug.
6.
If adding only a few ounces of gear oil, use API
rated GL-4 or GL-5 gear oil having a viscosity
of SAE 140, SAE 85W-140 or SAE 80W-90. If
refilling an empty transmission, use only GL-4
gear oil having a viscosity of SAE 85W-140 or
SAE 140.
7.
While checking frequently to avoid overfilling,
slowly add gear oil into the oil fill hole until it
reaches the halfway point on the drive shaft.
8.
Securely replace the oil fill plug.
Lubrication
After every 10 operating hours, oil or grease the
lubrication points shown in Figure 5-2 and described
below.
Depth Regulator Lever
Handlebar Hardware
Wheel Shaft
Tine Shaft
Figure 5-2
Use clean lubricating oil (#30 weight motor oil is
suitable) and clean general purpose grease (grease
containing a metal lubricant is preferred, if available).
•
Remove the wheels, clean the wheel shaft and
apply a thin coating of grease.
•
Grease the back, front and sides of the depth
regulator lever.
•
Remove the tines and clean the tine shaft. Use
a file or sandpaper to gently remove any rust,
burrs or rough spots (especially around the
holes in the shaft). Apply grease to the ends
of the shaft before installing the tines.
•
Oil the threads on the handlebar height
adjustment screws and the handlebar
attaching screws.
Off-Season Storage
When the tiller won't be used for an extended
period, prepare it for storage as follows:
1.
Clean the tiller and engine.
2.
Do routine tiller lubrication and check for
loose parts and hardware.
3.
Service the engine as instructed in the
seperate engine manual.
4.
Engines stored between 30 and 90 days need
to be treated with a gasoline stabilizer. Engines
stored over 90 days need to be drained
of fuel to prevent deterioration and gum
from forming in fuel system or on essential
carburetor parts. If the gasoline in your engine
deteriorates during storage, you may need
to have the carburetor, and other fuel system
components, serviced or replaced.
WARNING: Drain fuel only into an
approved container outdoors, away
from an open flame. Allow engine to
cool. Extinguish cigarettes, cigars,
pipes, and other sources of ignition
prior to draining fuel.
5.
Store the tiller in a clean, dry area.
6.
Never store the tiller with fuel in the fuel
tank in an enclosed area where gas fumes
could reach an open flame or spark, or where
ignition sources are present (space heaters,
hot water heaters, furnaces, etc.).
Belt Replacement
If the drive belt need to be replaced, it is best to
replace both belts at the same time. Use only a factory-
authorized belt as an "over- the-counter" belt may not
perform satisfactorily. The procedure requires average
mechanical ability and commonly available tools.
To replace the Drive and Reverse belts, follow these
steps:
1.
Make sure the tiller is on a flat surface, with
the engine turned off and the spark plug
wire unplugged and grounded to prevent
unintended firing of the engine.
2.
Remove the belt cover as seen in Figure 5-3,
by first removing the two 1⁄4-20 hex washer
screws and one flat washer. Lift the belt cover
up and away from the tiller and set in a safe
location until reinstallation.
Hex
Washer
Screw
Flat Washer
Figure 5-3
5
Hex Washer
Screw
