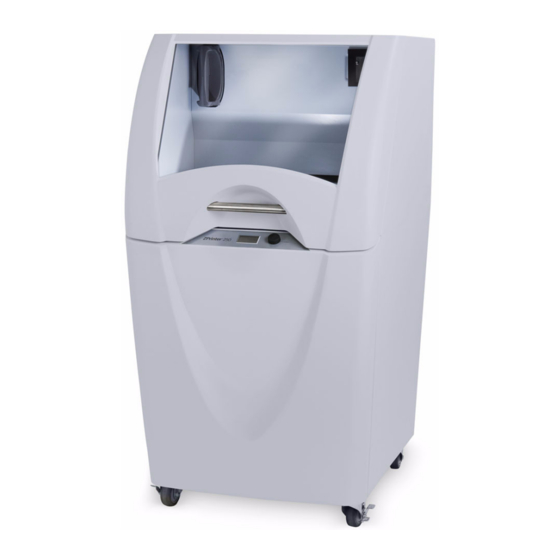
3D Systems ZPRINTER 250 Manual de inicio rápido - Página 7
Navegue en línea o descargue pdf Manual de inicio rápido para Impresoras 3D 3D Systems ZPRINTER 250. 3D Systems ZPRINTER 250 16 páginas.

4. Gross Powder Removal
When the build is finished, the printer starts an automatic drying
cycle. A counter on the printer LCD counts down the time
remaining before the part is dry.
When the drying cycle is finished, you
will need to remove the unused pow-
der around the part.
1.Close the top cover, then select
VACUUM
cover. The vacuum starts.
2.Vacuum
powder from around the part. Be
careful around delicate sections.
Use the Control Knob to move the
Build Platform up as needed.
5. Fine Powder
Removal
Any loose powder on the part must be removed before proceed-
ing with the post-processing steps.
1.
Raise the Build Platform up. Gently pick up the part and
place it in the Powder Recycling Station.
3dscentral.3dsystems.com
on the LCD menu. Open the
2.
If the part is very delicate, the Build Platform is removable.
Select
ACCESS BUILD PLATE
Build Plate and the part and carry both to the Powder Recy-
cling Station.
3.
Use the air wand to blow off any remaining powder. Refer to
the Powder Recycling Station User Manual for details.
4.
Allow the part to dry longer in the Powder Recycling Station
while you perform the Routine Cleaning described in Section
6.
6. Routine Cleaning After Every Build
After every build, it is important to clean your printer following
the steps below.
A clean, well-maintained printer produces better parts,
has less downtime, and needs fewer service calls.
Routine cleaning includes the following steps:
•
Vacuum Up Excess Powder
•
Empty The Debris Separator
•
Clean The Rails and Carriage
•
Clean The Service Station
•
Clean the Parking Caps (ZPrinter 250 Type 1 only)
6.1 Vacuum Up Excess Powder
Vacuum the Build Bed, the Fast Axis, and the Deck.
on the LCD menu. Lift the
7
