DNP IDW520 Manual de inicio - Página 4
Navegue en línea o descargue pdf Manual de inicio para Cámara digital DNP IDW520. DNP IDW520 17 páginas. Id photo system
También para DNP IDW520: Manual de inicio rápido (17 páginas)

IDW520 Photo ID System
battery in the battery compartment and
the SD card in the card slot. The battery
compartment and SD card slot are located
on the bottom of the camera. Close the door.
• Use the supplied charging cable and plug
to charge the camera battery. The charging
port is on the side of the camera inside the HDMI compartment. Plug
the cable into the charge port and the plug adaptor, then plug the
adaptor into a wall outlet.
• Make sure the camera is OFF before
charging (the camera will not charge if it is
powered ON. When the red light appears
on the top of the camera, the battery is
charging. The camera battery must be
charged prior to use.
• Connect the camera strap and lens lanyard
to the camera.
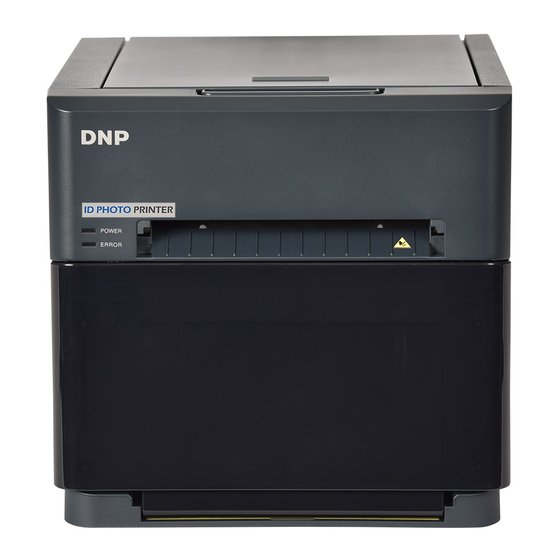
2. Setting up the Printer
• Unpack the printer. Remove any packaging foam or
tape from the outside of the printer.
• Plug it in. Plug the USB cable into the back of the
printer. Plug the power cord into the back of the printer
and into the wall outlet. Switch the printer power button to ON.
• Open the printer. Press the release lever on top of the printer to
open the media door (left image). Remove the paper spools (and any
packaging materials!). Remove the spacers from the printer spools
and set them in a safe place. The spacers are not needed when using
ID Photo media.
• Load the paper. Remove the paper spools from the paper
compartment. Locate your media box and remove a roll of paper.
4
1. Preparing the Camera
•
Unpack the camera.
•
Locate the Wi-Fi SD card that was shipped in
the box with your console kit.
•
Place the rechargeable
