Akrobat PLAYGROUND Manual de instalación y uso - Página 3
Navegue en línea o descargue pdf Manual de instalación y uso para Deportes y aire libre Akrobat PLAYGROUND. Akrobat PLAYGROUND 8 páginas. 6'7'' x 6'7'' / 200 x 200 cm

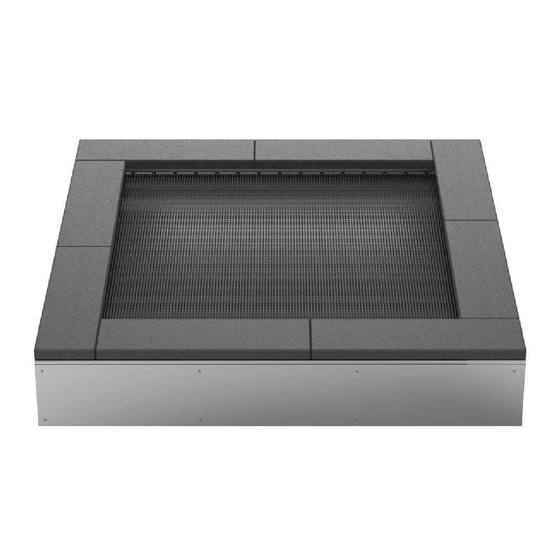
2. TRAMPOLINE PARTS
Part A
Metal frame
Part B
Rubber tiles-frame plates
Part C
Springs 14 cm
Part D
Jumping mat
Part E
Spring tool
4
INSTALLATION AND USER MANUAL - PLAYGROUND
PLAYGROUND
6'7'' x 6'7'' / 200 x 200 cm
4 pcs
4 pcs
60 pcs
1 pc
1 pc
3. ASSEMBLY AND INSTALLATION
We recommend at least two people to assemble the trampoline. Use gloves to protect your hands from
pinch points and sharp points during assembly. Do not apply excessive force during assembly that will
cause damage to the product.
Assembling the frame
Assembling of metal frame is done
1
outside the ground hole. Frame is
composed of 4 equal metal plates, first
take 2 pieces and push them togehter in
prepared holes on the frame (it is click
system - they will assemble together).
Follow the same procedure with 3
rd
4
th
metal plate, so that you get square
metal frame. No additional screws are
needed.
Fitting the jumping mat & installing the springs
Lay the jumping mat inside the frame
2
of the trampoline. In order to make the
installation of the jumping mat easier,
put the eight springs in the corners of
the jumping mat and attach all eight
springs on these locations first. You must
attach springs to the wire which is sewn
in jumping mat. Use spring tool to help
you attaching springs on the frame.
Continue by attaching springs from the
corners to the middle of the mat on all
four sides until all springs are attached.
As there is no extra mark of the position
of the springs on the jumping mat just
follow the linear line of springs according
to the holes on the frame. Be sure that
all 60 spring hooks are properly and well
attached.
Important:
Be sure all spring hooks are well attached
to the frame.
and
5
