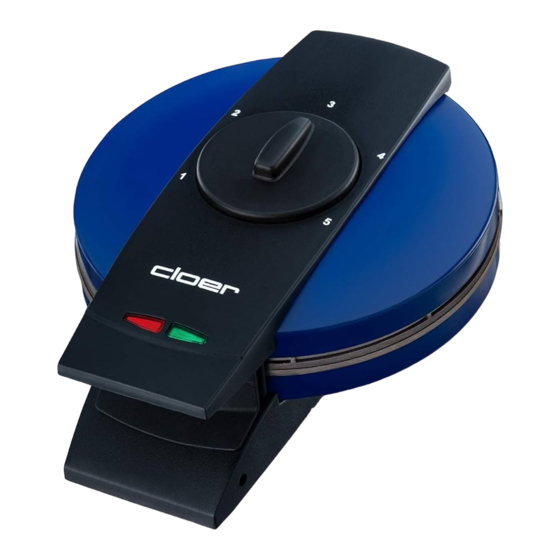
Cloer 2632 Manual de instrucciones - Página 13
Navegue en línea o descargue pdf Manual de instrucciones para Electrodomésticos de cocina Cloer 2632. Cloer 2632 20 páginas. Crispy cone maker

Introduction
Dear Customer,
With your purchase of the Cloer Crispy Cone
Maker you have chosen a high-quality product
in terms of technology and functionality. Please
become familiar with the appliance before
initial use and read the operating instructions
carefully. We wish you much pleasure with your
new appliance.
Preparing for use
·
Remove all packaging elements and stickers,
but not the rating plate.
·
Place the crispy cone maker on a dry, flat,
nonslip surface.
CE marking
The appliance meets the
requirements of the applicable
EC directives.
Indoor use
The appliance is intended
for indoor use only.
Before initial use
·
Please read these operating instructions carefully
before using the appliance for the first time.
·
Clean the baking surface with a damp cloth.
·
Grease the baking surface before using it for the
first time.
ATTENTION! Due to production
residues smoke can occure in the
first minutes. For that reason take
care of a good aeration during
first heating up.
·
For reasons of hygiene, please do not consume
the first 2 crispy cones.
Safety notices for the crispy cone
maker
ATTENTION! The baking surfaces
and the housing are very hot
during the process. Please do not
touch. Danger of being burned!
·
Do not use pointed objects such as knives or
metal forks to remove the crispy cones from
the appliance. This could damage the non-stick
surface. Use wood or heat resistant plastic cutlery
ATTENTION! Always unplug the
appliance when not in use and
before cleaning!
Starting up
·
Plug the appliance into the wall socket. Set the
controller to 3 to preheat the appliance.
·
The red light turns on.
·
CAUTION! Appliance becomes hot.
·
It should be avoided to preheat the appliance
to the highest level since this could damage the
non-stick surface.
·
After a few minutes, the red light will turn off
and the green one will light.
·
You can begin with the cone baking.
Operation
Filling batter
·
Fill the batter in the middle of the lower baking
tin. When baking crispy cones, it is important
to ascertain the exact batter quantity (approx.
1 level tablespoon). You should try to avoid the
batter running into the overflow rim which is
about an inch.
·
Should this happen to you by mistake,
particularly during the first baking trials, you
can simply break off the excess of batter from
the rolled, cold cone.
ADVICE: For making your crispy cones a
success it is important to close the
appliance after having filled in the batter
and to press the handles together. Due to
the pressure the batter is fast and evenly
spread and browned. This is especially
necessary in the case of very viscous
batters. The thinner the batter is, the less
it will have to pressed.
Baking
·
The
continuously
adjustable
regulator allows you to control the browning
level when baking crispy cones. Select a low
setting (1 - 2) for light crispy or a high setting
(4 - 5) for dark crispy cones.
·
The first cone possibly does not correspond
the exact browning level. Wait for another cone
before adjusting the regulator.
·
Shortly after having filled in the batter the
green control lamp goes out. The red control
lamp lights up. After termination of the baking
process the red control lamp goes out and the
green one lights up again. The crispy cone is
ready.
·
The baking time lasts from 1 ½ to 3 minutes,
depending on the batter. Take the crispy
cones out of the appliance immediately
after termination of the baking process. We
recommend using a wooden fork or heat
resistant plastic cutlery.
·
After having been taken out the crispy cones
must be rolled immediately when they are
still hot. As soon as they are cooled down they
cannot be rolled any more.
Advice: You can use a champagne glass for
rolling the crispy cones.
EN
browning
13
