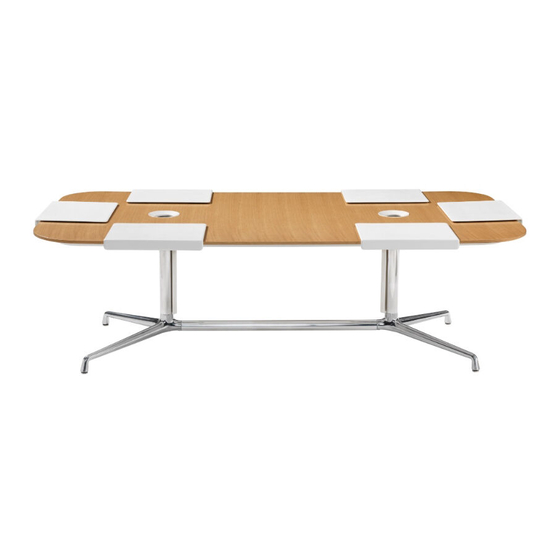
Coalesse SW 1 Table Manuel - Page 8
Parcourez en ligne ou téléchargez le pdf Manuel pour {nom_de_la_catégorie} Coalesse SW 1 Table. Coalesse SW 1 Table 11 pages.

10.
Rest the other half (with the
larger domino and dowel holes) on
top of the cones.
11.
Make sure halves are in
alignment, then move the free half
at a slight angle so that the oversize
holes accept the dominoes / dowels.
12.
Push halves together until tight.
13.
Install a Zipbolt connector, snug
but not tight, into routs at all routed
locations. Place as deep as possible in
the pocket. Ensure that table edges
are flush at the joint (side to side).
Do not use rubber mallet to align
tops from side to side!
NOTE: After all Zipbolts are hand
tightened, fully tighten to 7.4-ft-lb torque.
DO NOT use impact drivers.
NOTE: If cones aren't properly located
with the cutouts, raise the center of
base to help align them.
13
ZIPBOLT CONNECTOR
Place as deep as possible
in the pocket.
10
11
Page 8 of 11
939500440 Rev E
