Coastal MYGIG LOCKPICK PRO Manuel d'installation et d'utilisation - Page 3
Parcourez en ligne ou téléchargez le pdf Manuel d'installation et d'utilisation pour {nom_de_la_catégorie} Coastal MYGIG LOCKPICK PRO. Coastal MYGIG LOCKPICK PRO 15 pages. Adapter for chrysler/dodge/jeep

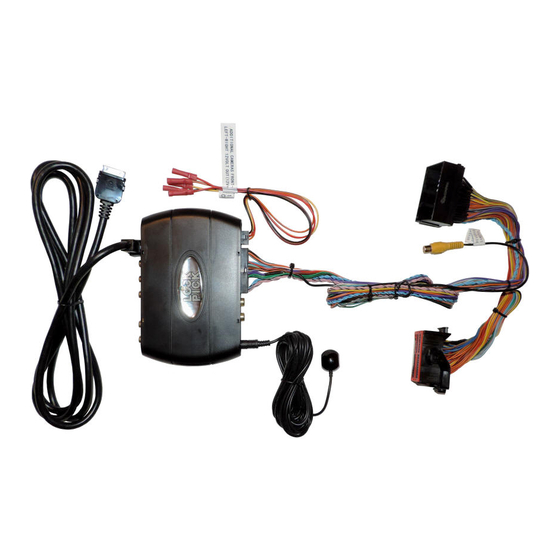
OK, let's get started. On your MYGIG LOCKPICK PRO ADAPTER control box are switch settings which allow you to program the Lockpick
for your vehicle and the features you would like to enable. The diagrams below are important to enable the PRO module to work with MYGIG radio
systems. More than one switch may be turned on at a time to create the feature list you desire. Improper switch settings will not damage anything
however it could cause your radio to fail to turn on or conflict with existing accessories.
LOCKPICK
PROGRAMMING
**CHECK WITH THE DEALER YOU
PURCHASED THE RADIO FROM, TO
DETERMINE RADIO SPEED
Place switch 2 UP if your new
radio is a LOW SPEED
communication radio.
(This is the standard radio for a Mygig
Adpater upgrade)
Place switch 2 DOWN if your
new radio is a HIGH SPEED
communications radio.
(The Adapter can allow high speed radios to
operate in your low speed vehicle.)
SET VEHICLE
SELECT TO
UP
POSITION
LEAVE ALL COMMUNICATION
"1"
UP
POSITION
SWITCHES IN THE UP / OFF
POSITION
LOCKPICK PRO
Camera Options
Place switch 5 UP for
standard Camera/Aux video
installations.
See standard
installation diagram
Place switch 5 DOWN if
connecting FRONT, REAR,
LEFT, and RIGHT cameras
at the same time.
See last page for
alternate installation diagram
