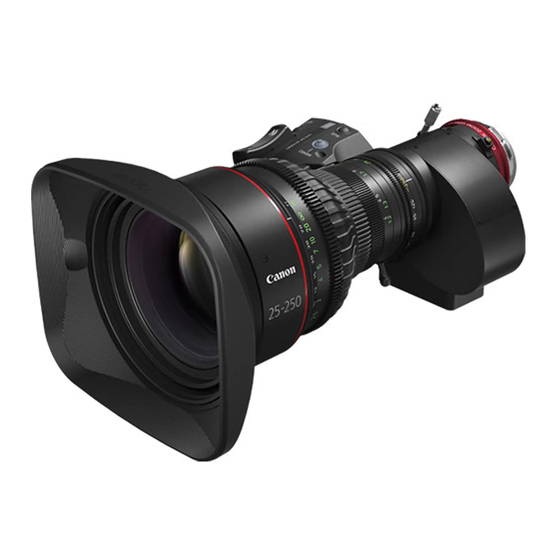
Canon CN10x25 IAS S/E1 Manuel d'utilisation - Page 10
Parcourez en ligne ou téléchargez le pdf Manuel d'utilisation pour {nom_de_la_catégorie} Canon CN10x25 IAS S/E1. Canon CN10x25 IAS S/E1 34 pages. Zoom lens

- 1. Fcc Regulations
- 2. General Safety Information
- 3. Handling the Product
- 4. Maintenance and Inspection
- 5. How to Mount
- 6. Available Accessories
- 7. Dimensions of Parts
- 8. Iris Gain Adjustment
- 9. Mode Setting
- 10. Zoom Operation
- 11. Focus Operation
- 12. Iris Operation
- 13. Extender Operation
- 14. Macro Operation
- 15. Switch Operations
- 16. Product Specifications
2 HOW TO MOUNT
2 HOW TO MOUNT
2-1. MOUNT THE LENS ON THE CAMERA
For PL mount, read the following instructions before mounting the lens.
The PL mount supports /i communication, so make sure that the camera is set to "/i". Do not mount the lens if
the camera is set to a mount communication mode other than /i. Doing so could result in malfunction.
Before mounting the lens on the camera, make sure that the power of camera and the power of supply
equipment are turned off.
Before mounting the lens on the camera, make sure that the power of camera and the power of supply
equipment are turned off.
Lens
support
Screw supplied with the
lens support
Rods
Lens support fixing screws
1
Attach the lens to the camera tightly so that both mounting
surfaces are in complete contact.
NOTE
The mounting method differs depending on the
lens mounts. Refer to the operation manual for the
respective camera for the detailed information.
If the rod interferes with the lens body or drive unit
when mounting the lens, remove the rod and then
mount the lens.
2
Secure the lens holder on the lens support using the
clamping screw supplied with the lens support.
NOTE
When using a φ19 rod, attach the supplied attachment
holder to the lens holder in advance.
3
Fix the lens support to the rods using lens support fixing
screws.
E4
