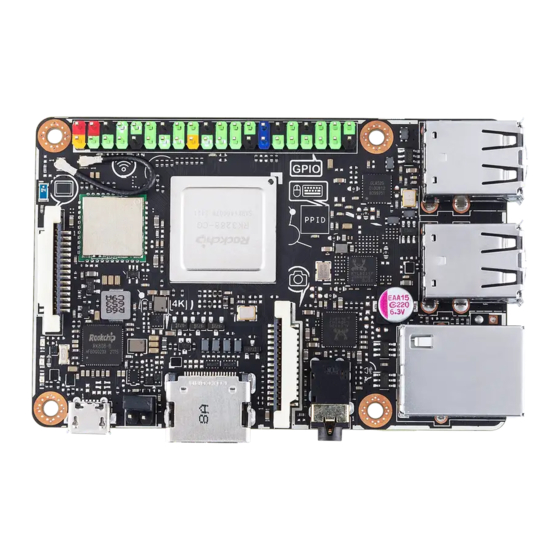
Asus Tinker Board Series Manuel de l'utilisateur - Page 11
Parcourez en ligne ou téléchargez le pdf Manuel de l'utilisateur pour {nom_de_la_catégorie} Asus Tinker Board Series. Asus Tinker Board Series 12 pages.

- 1. Table of Contents
- 1. 1 Basic Requirements
- 2. 2 Getting Started
- 2. Setting up Using Emmc (Tinker Board S Only)
- 2. Setting up Using a Microsd Card
- 3. 3 Writing the os Image
- 3. Using Etcher (Cross-Platform)
- 3. Using DD Command (Linux)
- 4. 4 OS Write Recovery (Tinker Board S Only)
- 4. Rewriting the os Using UMS from Emmc
- 4. Rewriting the os Using UMS from a Microsd Card
5.
Disable eMMC booting priority and force boot from the microSD card by setting the
jumper to Maskrom Mode as shown below
6.
Connect your Tinker Board S to a PC using a micro USB cable, it should be
recognized by the PC as a USB Mass Storage device.
7.
Write the downloaded OS image to the Tinker Board S using a third-party ISO
software, such as Etcher or Win32DiskImager.
Please refer to the Using Etcher (Cross-platform) section for more information on using Etcher.
8.
After the image has been successfully written, remove the micro USB cable from
the PC.
9.
Set the jumper to Parking (no function) Mode.
10. Plug in the AC adapter to your Tinker Board S and boot it up. It should boot up
successfully and create partitions like any other USB drive.
Please remove all other connected extension devices from your Tinker Board S.
Parking
Maskrom
(no function)
Mode
Mode
11
